How to Install a Composite Fence: A Step-by-Step Guide
- By Admin
- Posted on
Installing a composite fence is easier than you think. Whether you’re a homeowner or contractor, this step-by-step guide will show you how to build a strong, low-maintenance, and modern fence using Aluglobus composite fence kits. From setting the post sleeve to adding the final caps, everything you need is here. Let’s get started!

Introduction to Composite Fencing
Looking for a low-maintenance, durable fence solution? This guide will show you how to install a composite fence, which combines the strength of aluminum with the long-lasting appeal of composite materials. Whether you’re upgrading your yard or starting fresh, a composite fence offers modern aesthetics and exceptional durability.
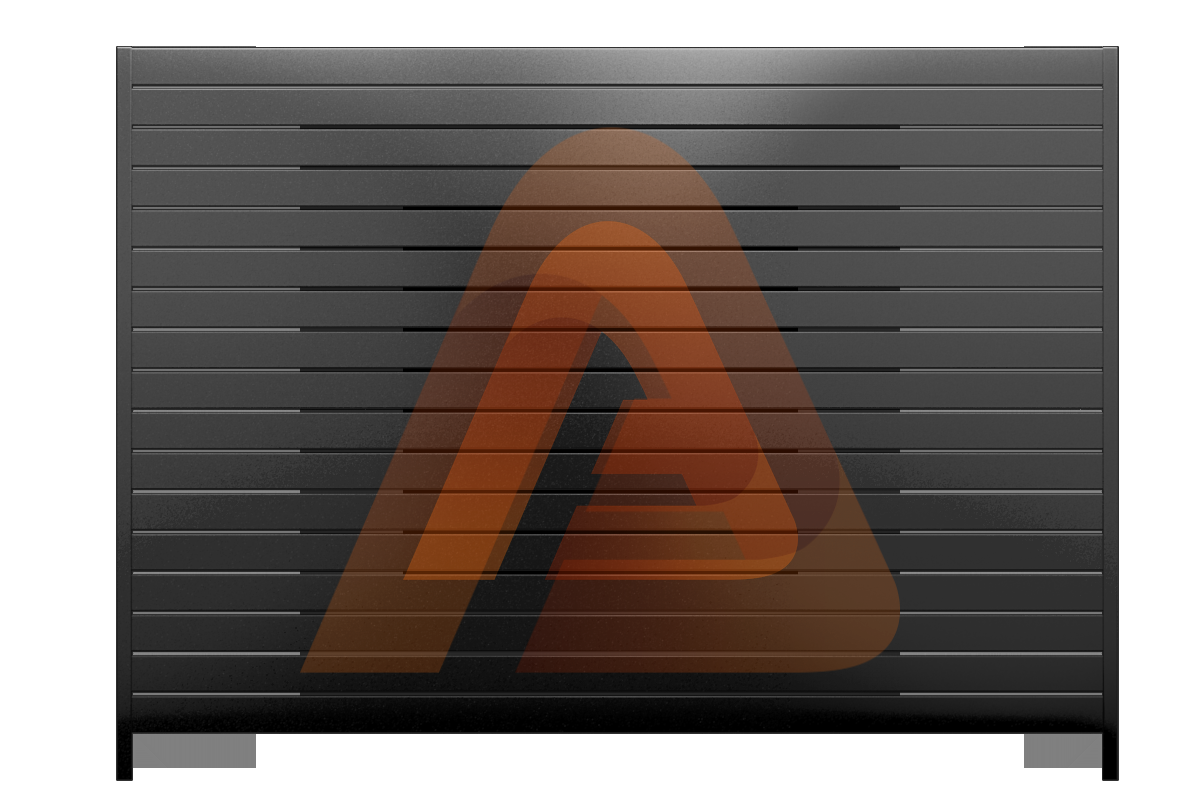
The tongue-and-groove (TNG) composite boards are engineered for strength and longevity. These boards are resistant to water damage, termites, and other common problems found with traditional wood fences. Plus, they’re virtually maintenance-free—simply rinse them with water to keep them looking new.
This cutting-edge design provides a sleek, modern look while ensuring years of reliable performance, making it the perfect choice for homeowners and contractors alike.
Step 1: Prepare the Foundation for Your Composite Fence
A sturdy foundation is key to ensuring your fence lasts for years to come. Start by cementing a steel post (1 1/4 inch in diameter) into the ground to create a solid base. Once the steel post is set, slide the pre-cut aluminum post sleeve over it. Use a rubber mallet if necessary to secure it. After positioning the aluminum post, attach the first bottom channel to the post. There’s no need to level it at this stage—this can be done later during the installation process.
Design Your Ideal Fence & Gates Today!
Design your perfect fence and gate today! Contact us now to bring your vision to life with custom designs that fit your style and needs.
Why the Foundation is Important
A well-set foundation ensures that your composite fence will remain sturdy, even in challenging weather conditions. It also prevents shifting or warping over time, which can be a common issue in poorly installed fences.
Step 2: Install the Base Rail and First Composite Panel
Once your foundation is set, begin installing the base rail at the bottom of the post. The base rail serves as the structural guide for the panels above. Insert the first composite board into the channel of the base rail. Make sure the board fits snugly into the groove for a secure and level connection. Align the board properly, as it will set the tone for the rest of the installation.
By following this step, you’ll see your fence taking shape, one level at a time.
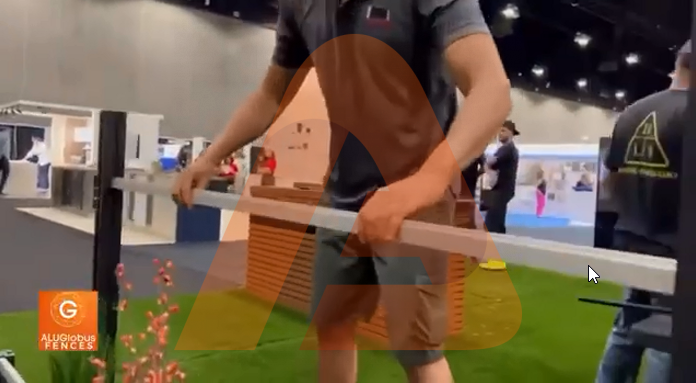

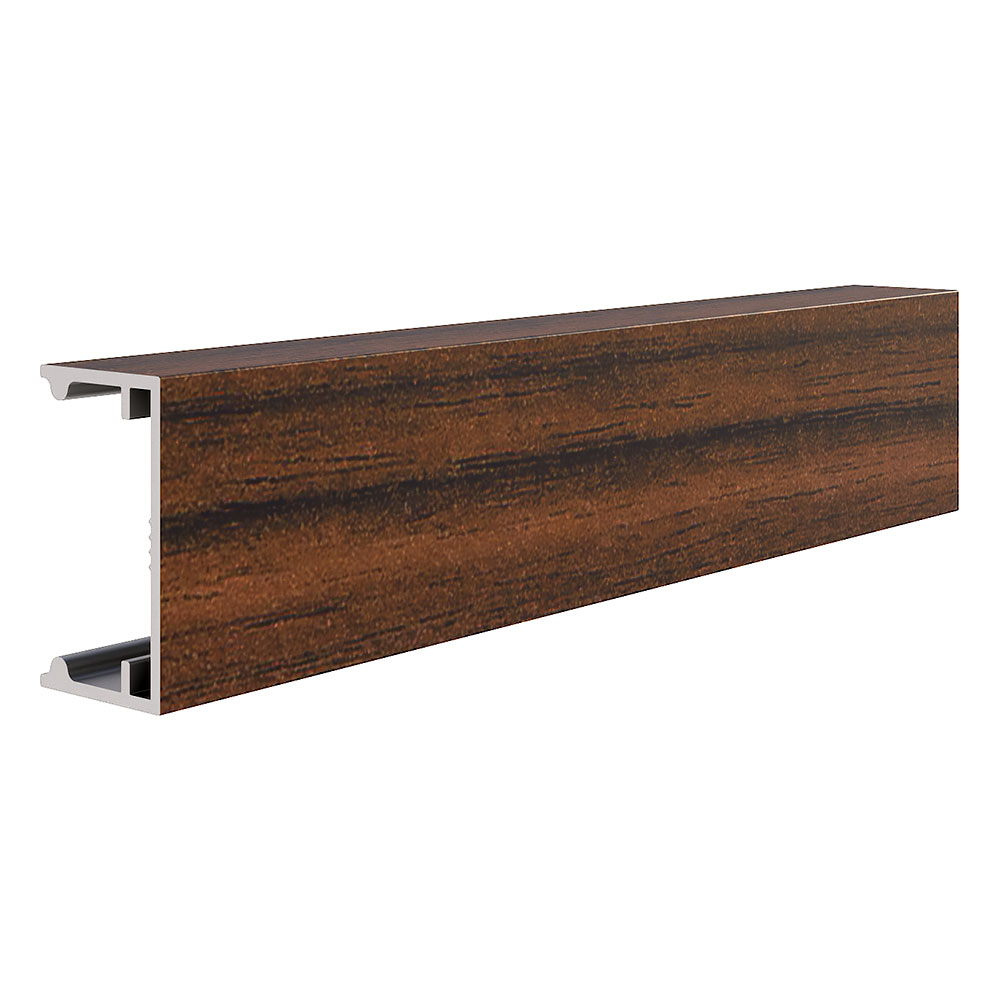
Step 3: Stack Composite Boards with Aluminum Channels
To continue building your fence, alternate between aluminum channels and composite boards. Start by sliding the next channel into place over the installed composite board. The channels are designed with a “T” profile that complements the tongue-and-groove edges of the composite boards, creating a secure fit. After the channel is in place, add another composite board. Repeat this process until you reach your desired fence height. This modular system allows for a quick, seamless build while maintaining structural integrity.
Design Your Ideal Fence & Gates Today!
Design your perfect fence and gate today! Contact us now to bring your vision to life with custom designs that fit your style and needs.
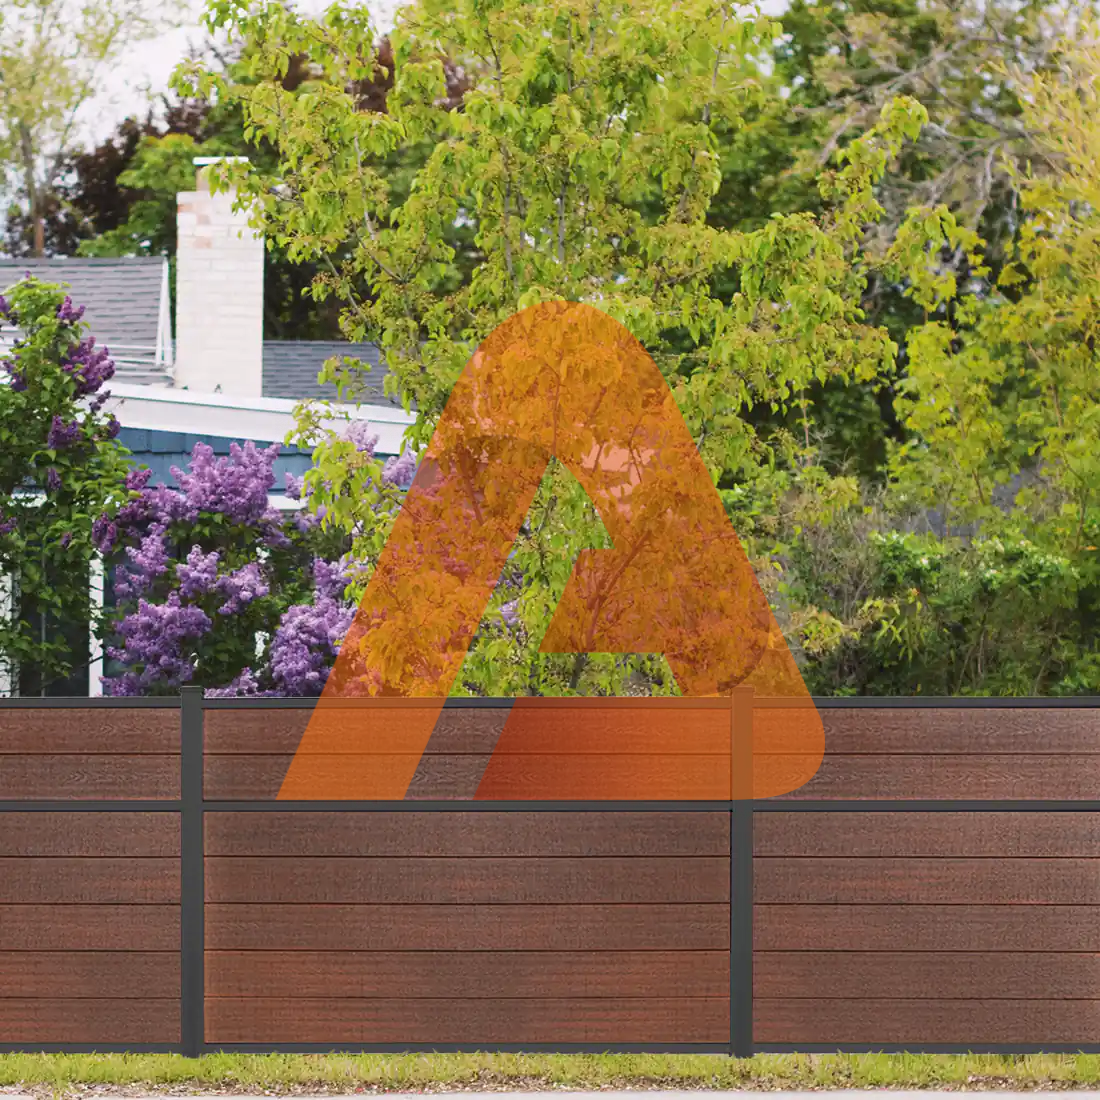
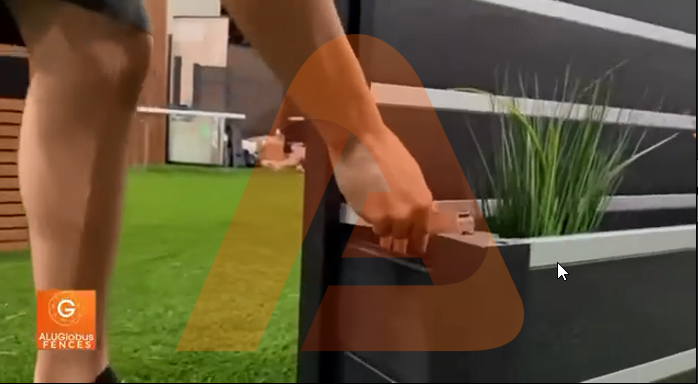
Step 4: Attach the Top Rail for Extra Strength
The final structural element to install is the top rail, which not only provides a polished appearance but also reinforces the durability of your fence. Align the top rail over the last composite board and ensure it matches perfectly with the rest of the fence. Once in place, secure the top rail. This step enhances both the fence’s aesthetic appeal and its structural strength, making it more resistant to external elements such as wind.

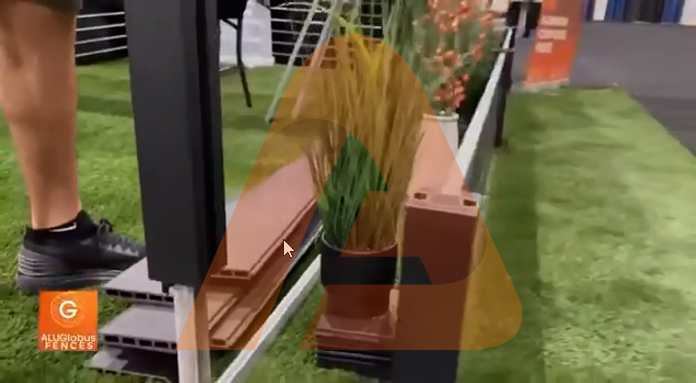
Step 5: Repurpose Extra Materials for DIY Fence Planters
One of the benefits of using Aluglobus composite fence materials is their versatility. Instead of discarding leftover aluminum or composite pieces, you can repurpose them into a rust-free, durable planter.
To make a planter, use the leftover aluminum channels and composite boards. Assemble them into a box-like structure, ensuring the aluminum provides a sturdy framework. This eco-friendly project not only reduces waste but adds a functional, stylish element to your outdoor space.
Step 6: Add Finishing Touches – Covers, Caps & Sealants
Now that your fence is up, it’s time for the finishing touches to ensure a professional, clean look. Begin by covering any gaps with post covers, which conceal the steel and aluminum framework. Add caps to the aluminum channels to enhance both the fence’s appearance and durability. To improve weather resistance, use silicone to seal the edges, preventing moisture and debris from seeping into the structure.
Why Choose the Aluglobus Composite Fence?
The Alu Globus composite fence system offers a range of benefits that make it a top choice for homeowners and contractors alike. Here are the key advantages:
- Wood-Like Appearance Without Maintenance: Enjoy the classic look of wood without the hassle of painting, staining, or dealing with rot and termites.
- Durable and Weather-Resistant Design: This fence is engineered to withstand wind, rust, and environmental wear, ensuring long-term reliability.
- Easy DIY Installation: The modular design requires no special tools, making it perfect for homeowners or contractors.
- Cost-Effective and Eco-Friendly: Leftover materials can be repurposed into useful items, minimizing waste.
Whether you’re upgrading your outdoor space or starting fresh, the Aluglobus composite fence combines style, durability, and ease of use in one innovative package.
Composite Fence Installation: Everything You Need to Know
Composite fence installation is straightforward when done with the right materials and process. The key is combining strong aluminum posts with durable tongue-and-groove composite boards. Posts are first set in concrete to provide a solid foundation, then aluminum sleeves and channels are added to secure the boards. Each panel locks together in a modular system, creating a seamless, modern fence that resists wind, moisture, and UV damage.
Unlike wood fences that require constant sealing or vinyl fences that can warp, composite fences maintain their appearance with minimal effort. Installation usually takes one to two days for an average yard, and homeowners can choose from horizontal or vertical layouts depending on style preference. With the proper planning and tools, composite fence installation is a manageable DIY project—or a fast upgrade for contractors who want to deliver a long-lasting, low-maintenance solution.
FAQs
Can I install a composite fence myself?
Yes. Aluglobus composite fences are designed for DIY composite fence installation, requiring only basic tools like a level, drill, mallet, and measuring tape. The modular design makes it easy for homeowners to follow step-by-step instructions and achieve professional results without hiring a contractor.
What tools do I need for composite fence installation?
For a smooth composite fence installation, you’ll need a post hole digger or auger, a level, a rubber mallet, a drill with bits, corrosion-resistant screws, and measuring tape. Having all tools ready before starting will save time and ensure accuracy in your composite fencing installation.
How long does composite fencing installation take?
A typical DIY composite fencing project for an average backyard can be completed in one to two days, depending on the number of panels, site conditions, and experience level. Professional installation may be faster, but DIY offers cost savings.
What is a composite fence post sleeve, and why is it important?
A composite fence post sleeve slides over the steel post to provide protection, prevent warping, and improve the fence’s appearance. It also helps keep the post aligned and shields it from weather damage, ensuring the longevity of your composite material fence.
Can I use composite decking for a fence?
Yes. In some cases, composite decking boards can be repurposed for fencing, but they must be installed with proper framing to ensure stability. Using boards specifically designed for fencing, like those from Aluglobus, ensures a better fit and finish.
Are composite fences stronger than wood fences?
Composite fences combine the durability of aluminum framing with composite boards, making them more resistant to rot, pests, and weather than traditional wood fences. This durability reduces maintenance and extends the life of your fence.
How do I maintain a composite fence?
Maintenance for a composite material fence is minimal. Simply rinse it with water a few times a year to remove dirt and debris. Avoid harsh chemicals, as they are unnecessary and can affect the surface finish.
Leave your request
Leave a request and we will contact you within 15 minutes.