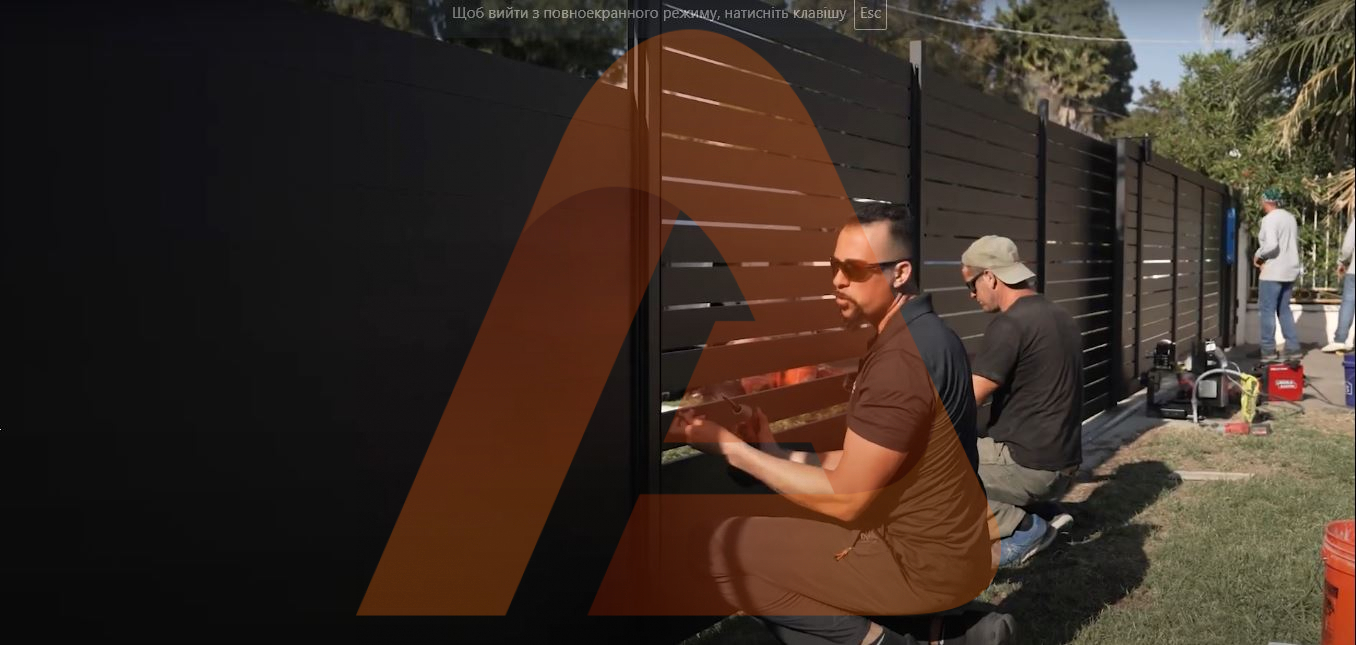
Step-by-Step Aluminum Fence Installation for DIYers
- By Admin
- Posted on
Introduction to the Contractor Line
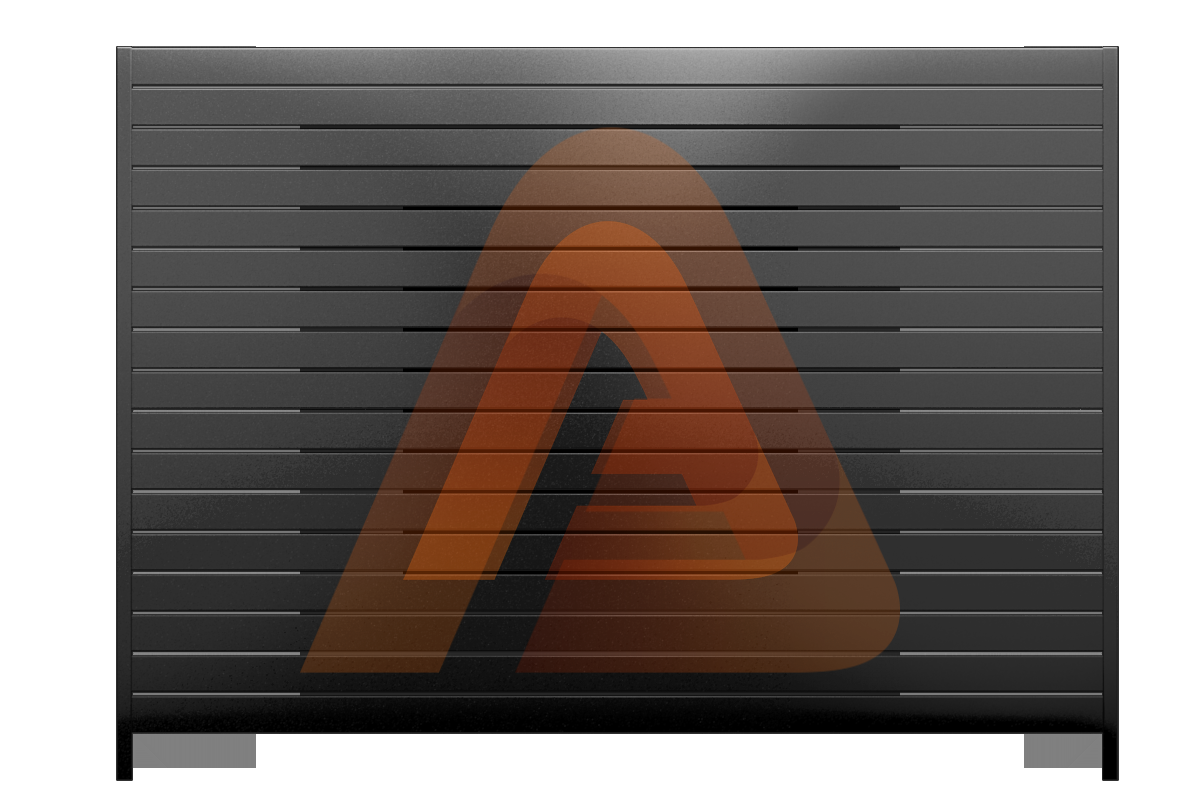
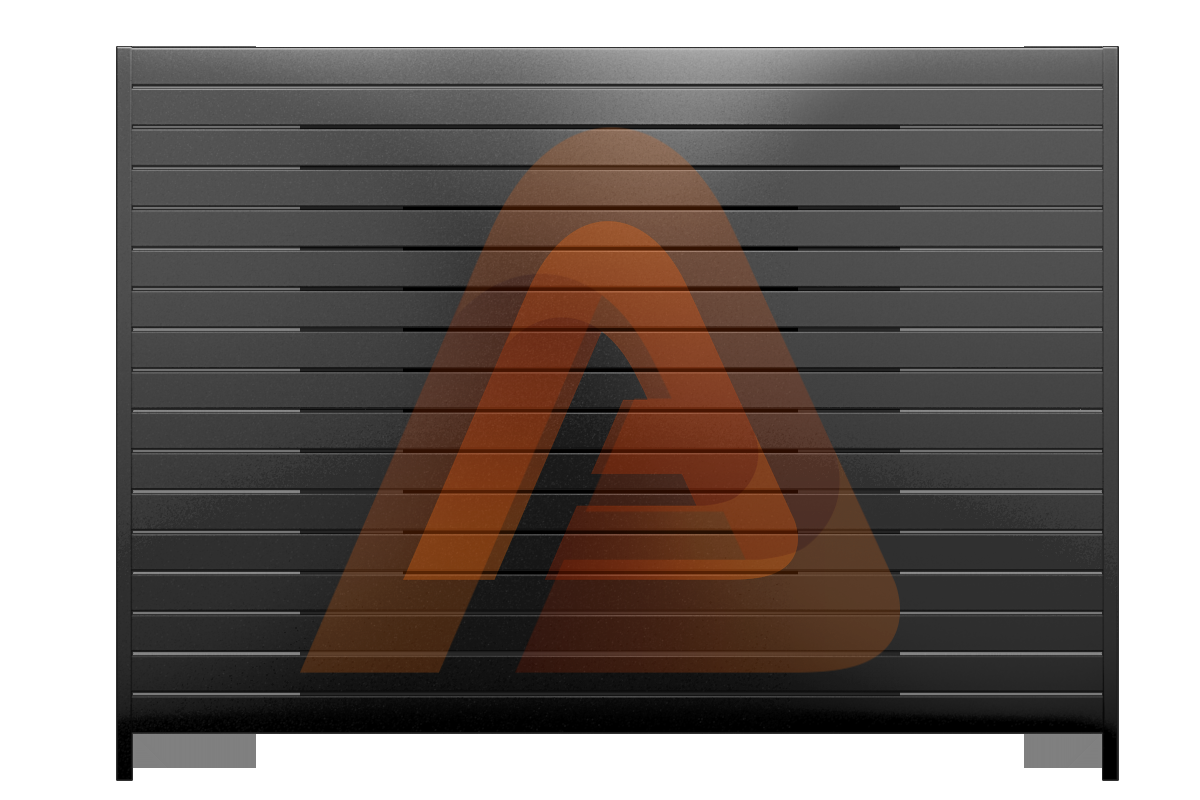
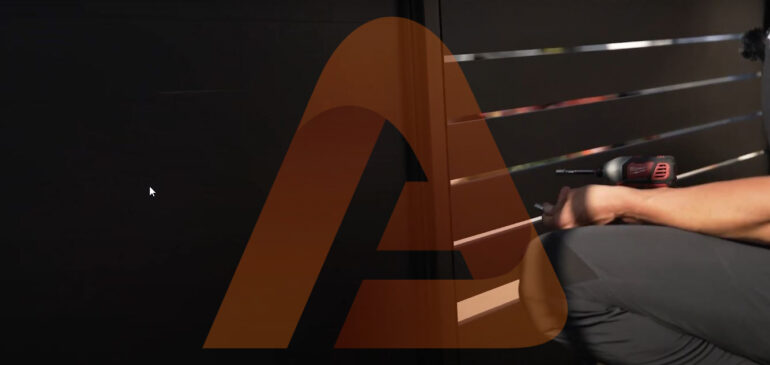
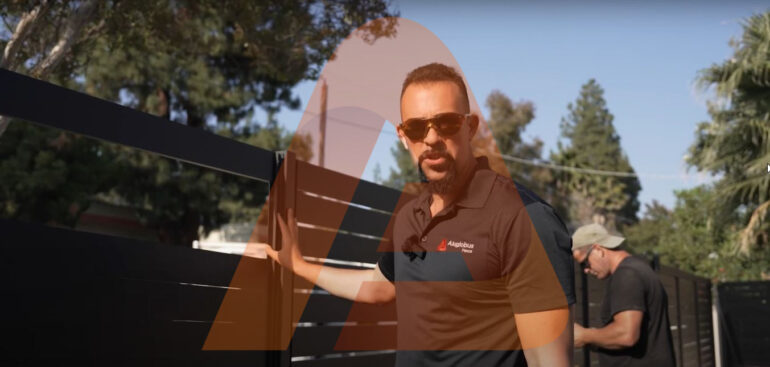
All Al Globus welcome to the channel! We’re assembling our contractor line, which a DIYer can also use, but it’s engineered for contractors. This system is super durable, designed to withstand tough conditions. You’ll be securing your screws directly into the flat, ensuring the fence is solid and won’t go anywhere without relying on brackets. We work with a ¾ gap for optimal spacing. Learn more about the full aluminum fence line here.
Aluminum Fence Installation: A Complete Guide
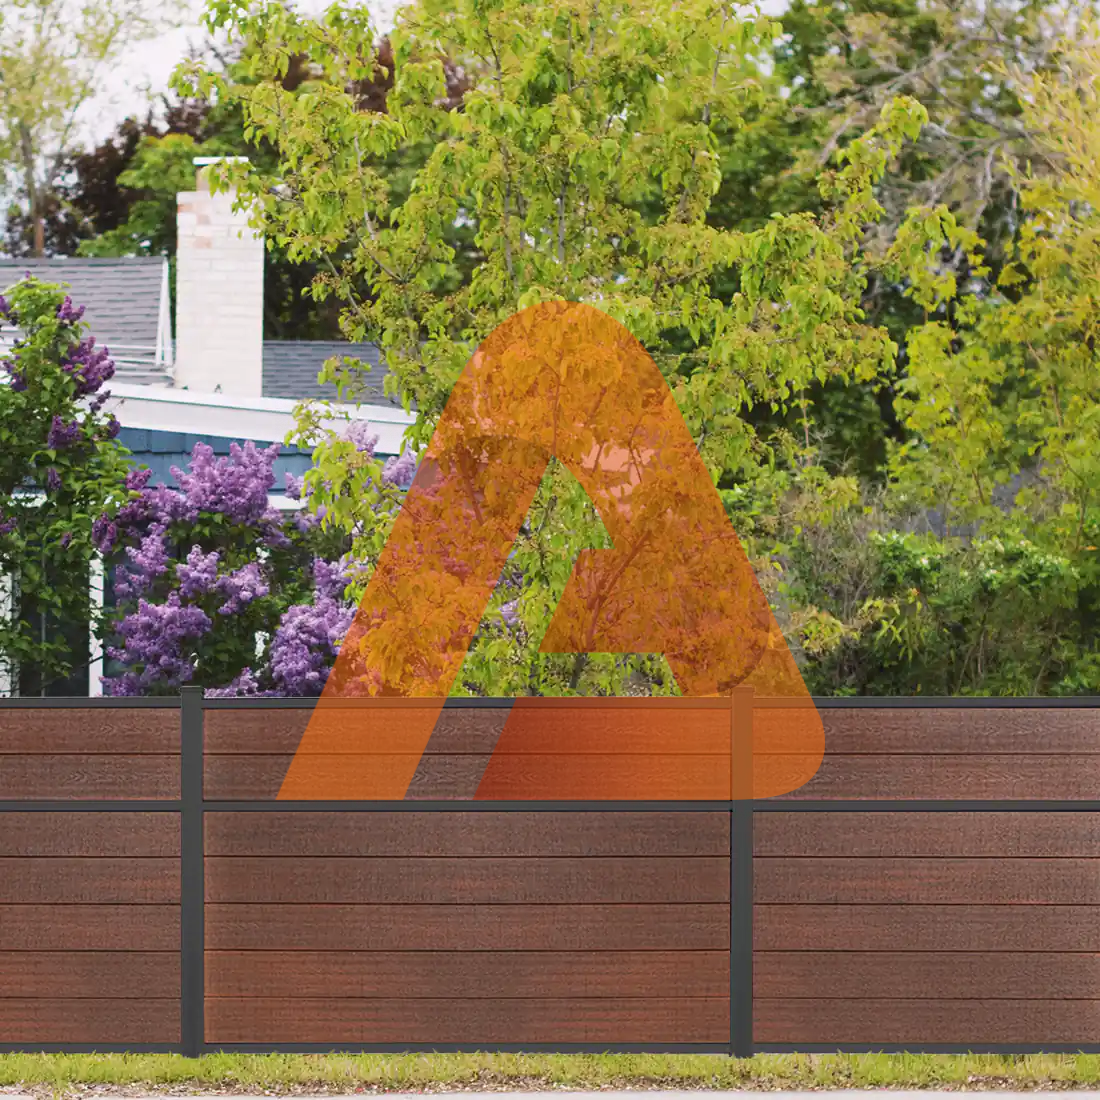
If you’re considering a new fence, aluminum fence installation is one of the smartest choices for homeowners. The process is straightforward, cost-effective, and results in a long-lasting barrier that looks sleek and modern. Unlike wood or iron, aluminum panels are pre-engineered with powder-coated finishes and modular components, which makes installation faster and easier without the need for welding or heavy tools.
The first step in aluminum fence installation is setting strong posts in concrete. Once the posts are secure, the panels or slats slide directly into the channels, locking into place for a tight, professional finish. Even on sloped yards, aluminum panels are designed to “rack,” which means they adjust to uneven ground without leaving gaps.
Another advantage of aluminum fence installation is its speed. A standard team can complete an average-sized yard in just one or two days, while DIY homeowners can also achieve great results with basic tools like a level, drill, mallet, and measuring tape. The result is a rust-proof, maintenance-free fence that adds security, style, and long-term value to your property.
Team Installation Process
Working as a team makes the job much easier and faster. While it is possible to install the fence solo, doing it alone will not only take much longer but also might cause unnecessary frustration and errors. Having a team to assist with the installation process can save significant time, reduce mistakes, and ensure the overall stability of the fence. Working in tandem also allows you to handle the heavy lifting of posts and slats while maintaining the precision needed for a solid, long-lasting installation.
Design Your Ideal Fence & Gates Today!
Method 1: Tapping Screws into Each Slat
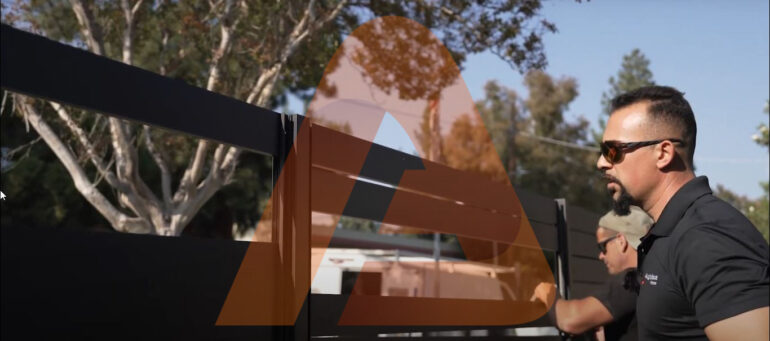
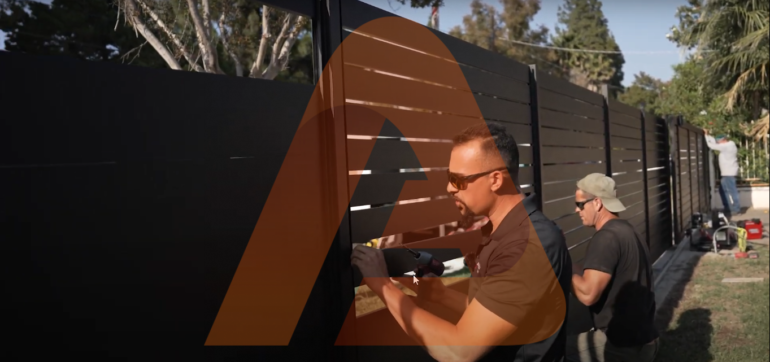
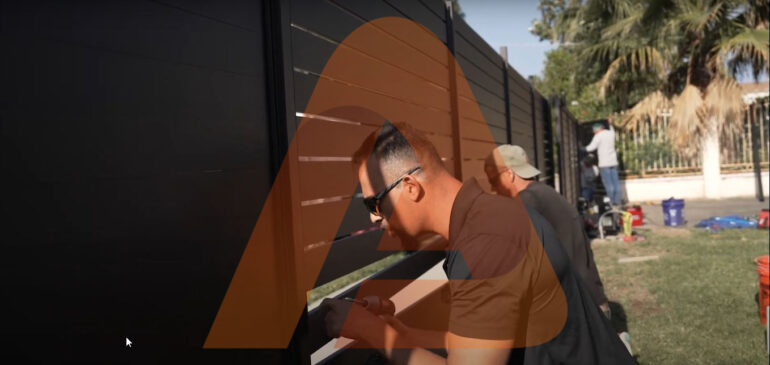
In this method, screws are tapped into each slat, securing each slat individually to the posts. This technique ensures that each slat is firmly attached, offering additional stability to the entire structure. This method is ideal when you’re looking for a more secure and durable fence, particularly in areas prone to wind or where extra stability is needed. It also creates a clean, uniform look across the slats, with each one being held tightly in place.
Method 2: Tapping Screws into Top and Bottom Slats Only
This installation method is less time-consuming and allows for more flexibility, especially when working with a larger fence. By tapping screws only into the top and bottom slats, the middle slats remain free within the post channels, which can make the entire installation process faster. To keep the middle slats from shifting, you’ll need to use spacers to maintain consistent gaps between them. For additional help, check out our expert DIY installation tips.
Setting Up Posts and Aligning the First Slat
First, set your posts in concrete, level them, and align your first slat at the top. This ensures that your line is straight and professional-looking. From there, you can continue installing the slats. The slats slot into the channels and remain secure. Our fence hardware line is fully aluminum, 100% made and powder-coated in the U.S., offering endless color options to suit your preferences. For detailed guidance, visit our installation overview.
Design Your Ideal Fence & Gates Today!
Durable Features of the Contractor Line
We’ve designed our aluminum system with a breaker point in the middle to maintain stability and prevent buckling. Rest assured—our slats will never buckle, and we offer a lifetime guarantee against it. The robust construction is made to last, whether you’re a professional contractor or a DIY enthusiast.
Installation of Stainless Steel Components
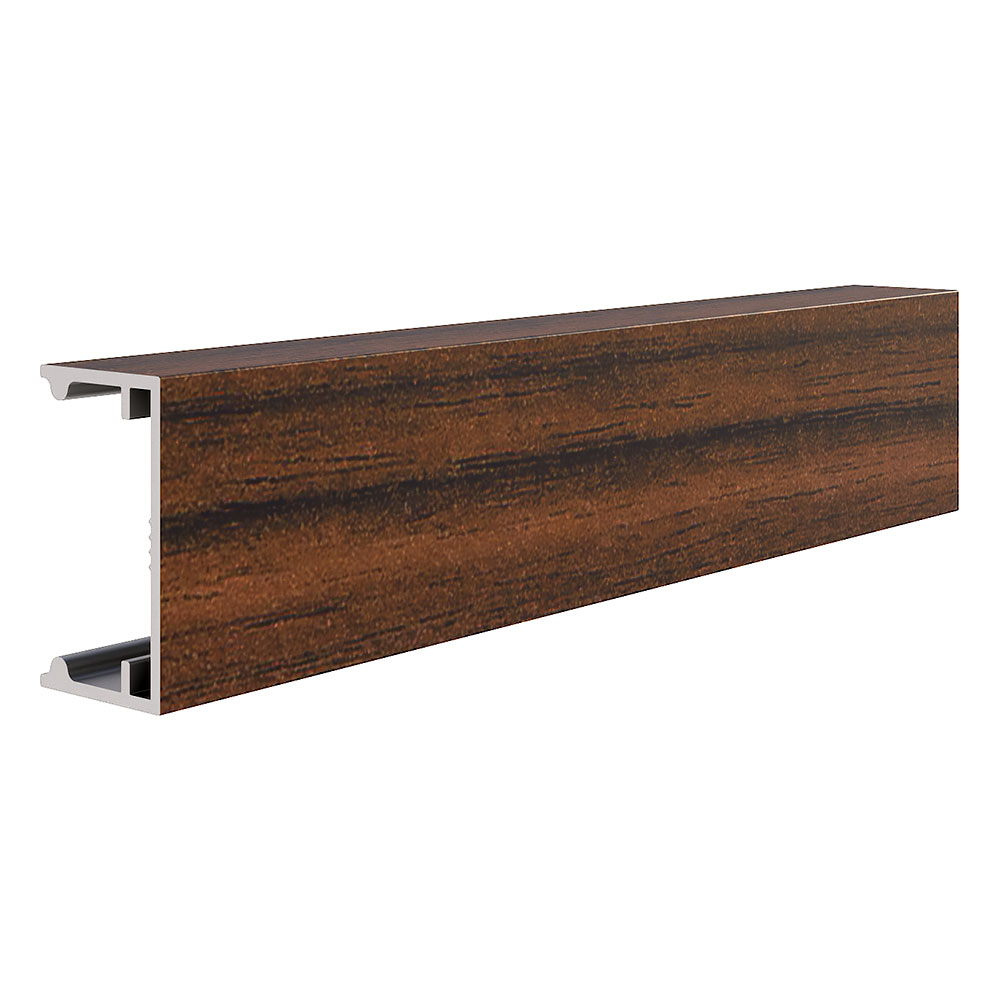
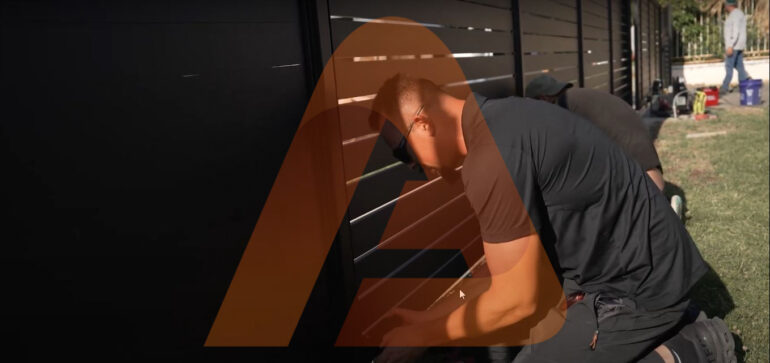
Our system uses high-quality hex screws and stainless steel components. We understand that rust can ruin your beautiful fence, so we ensure every part is corrosion-resistant. This system comes in 6 ft and 18 ft lengths and is excellent for use as wall toppers or privacy fences.
Customizing the Fence for the Perfect Fit
Many clients ask what happens if the last slat doesn’t fit perfectly at the bottom. The solution is simple: purchase our smaller slat to finish with a perfect fit. This gives you the flexibility to achieve the precise dimensions you need, even if the final slat is slightly different.
Efficiency of Installation
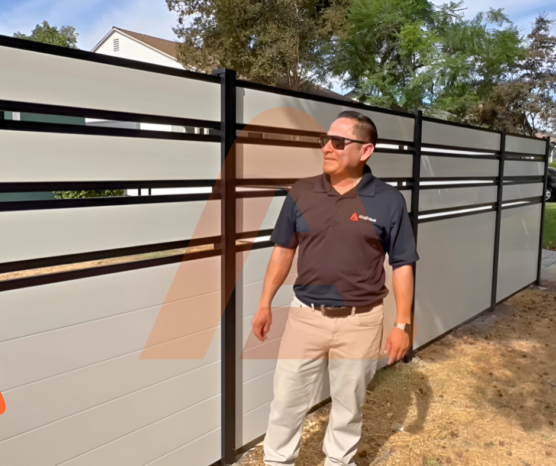
Once your posts are set, the fence won’t budge. We had two panels up in just 20 minutes after pouring the concrete. Installation is quick and easy, and if you need to make adjustments, simply remove the screws or spacers depending on your setup. Aluglobus contractors and DIYers alike will appreciate the efficiency and durability of our system. Return to the homepage to explore more options.
Leave your request
FAQs
Can I install an aluminum fence myself?
Yes, aluminum fences are one of the easiest fencing systems to install for DIYers. With a pre-engineered system like AluGlobus, you can set posts, slide slats, and secure panels with basic tools—no welding or cutting required.
How do I secure aluminum fence posts?
Aluminum posts should be installed in concrete footings for maximum stability. Make sure to dig at least 24 inches deep, level each post, and allow the concrete to cure fully before attaching slats.
Can I install aluminum fencing on a slope?
Yes, aluminum fencing can be installed on slopes using either racking (slats follow the slope) or stepping (panels are leveled in steps). AluGlobus slats allow for both installation types depending on the terrain and design.
How do I keep the slats from shifting?
If you’re using the method where only the top and bottom slats are screwed in, you should insert spacers between slats to maintain alignment and prevent movement over time.
Is aluminum fencing rust-proof?
Yes. AluGlobus aluminum fence kits come with stainless steel screws and powder-coated aluminum that is 100% rust-proof—even in coastal or humid climates.
What if the last slat doesn't fit perfectly?
We offer narrow end slats for a clean finish. You can also trim slats to fit your layout or contact us for custom sizing options. This ensures a seamless look across your entire fence line.
Can aluminum fences be used as privacy fences?
Absolutely. If you’re using tongue-and-groove aluminum slats or combining aluminum with composite inserts, you can achieve full privacy. Our AluGlobus system supports both open and solid-panel privacy fence styles.


