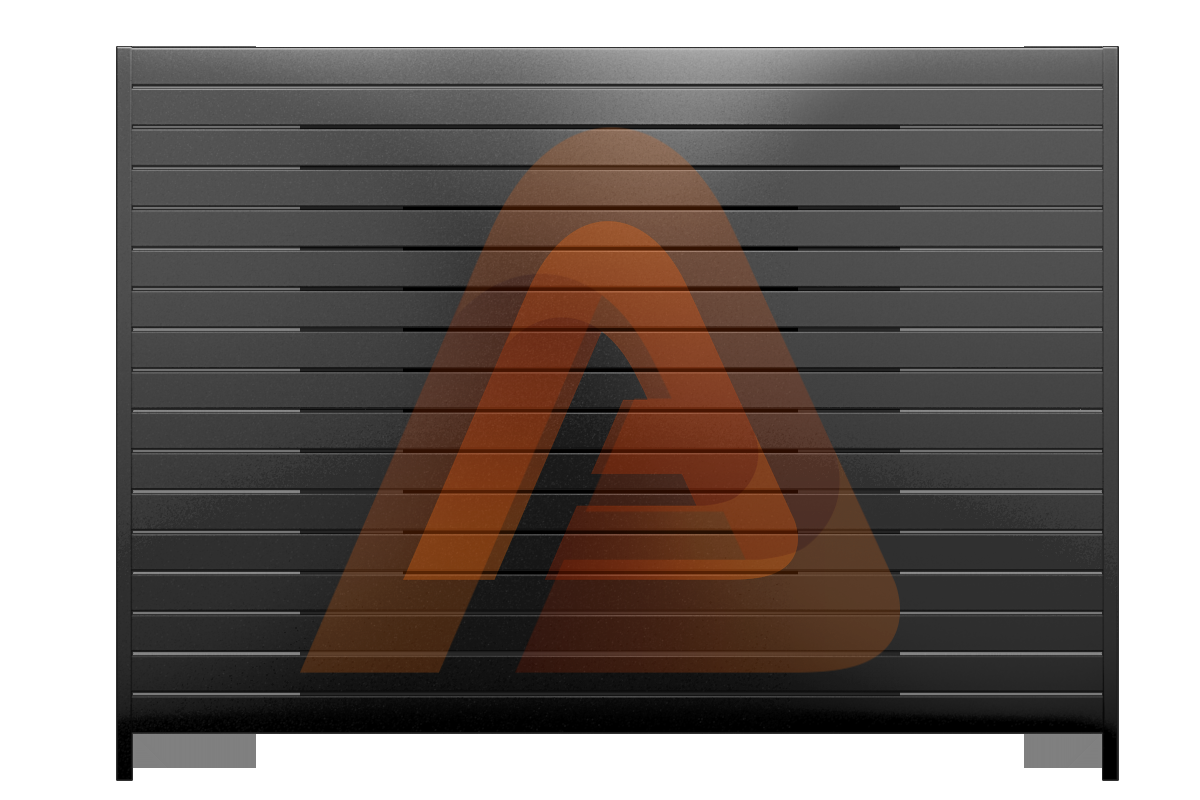
DIY Aluminum Fence Installation with ALU60 Slat Guide
- By Admin
- Posted on
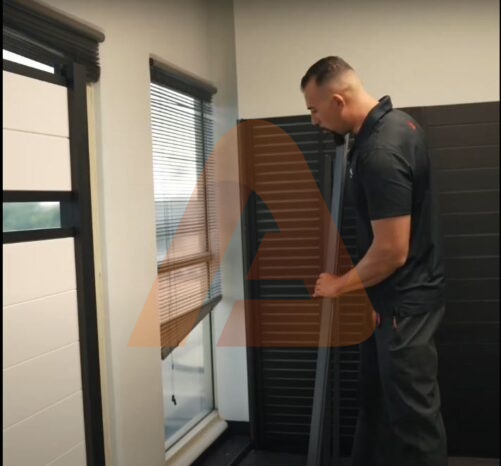
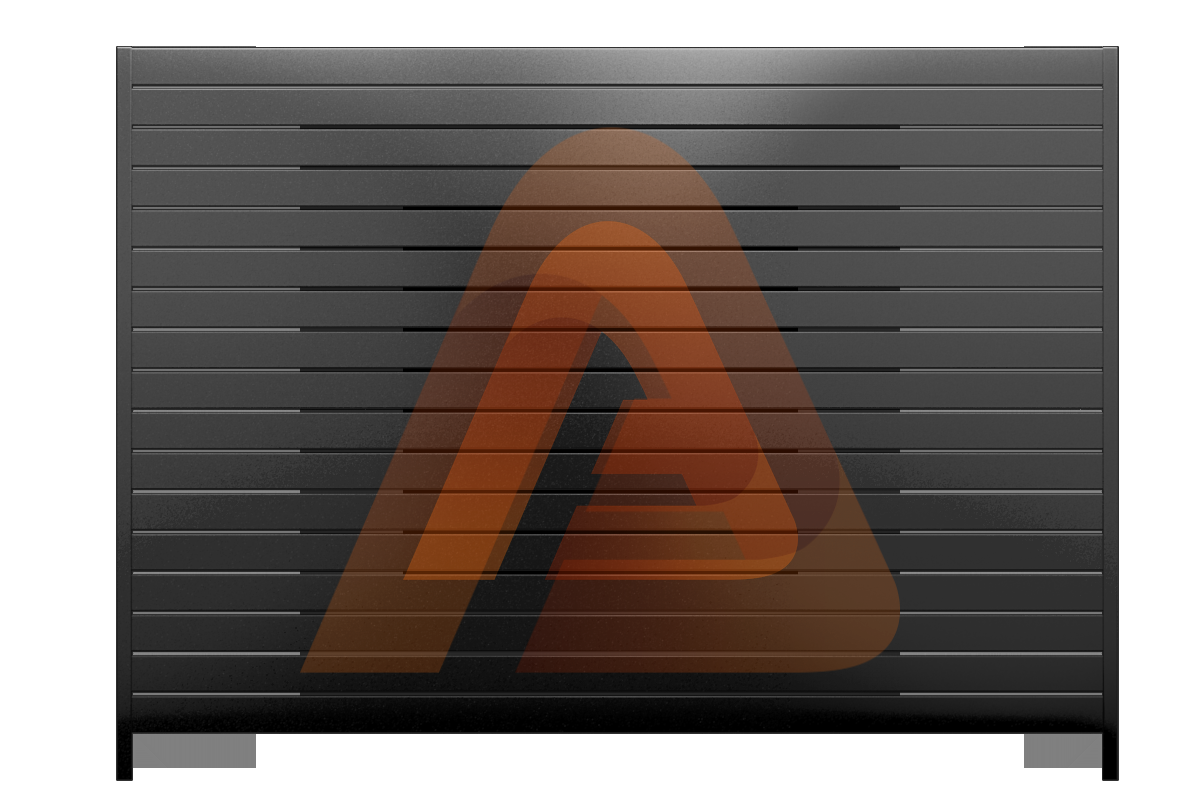
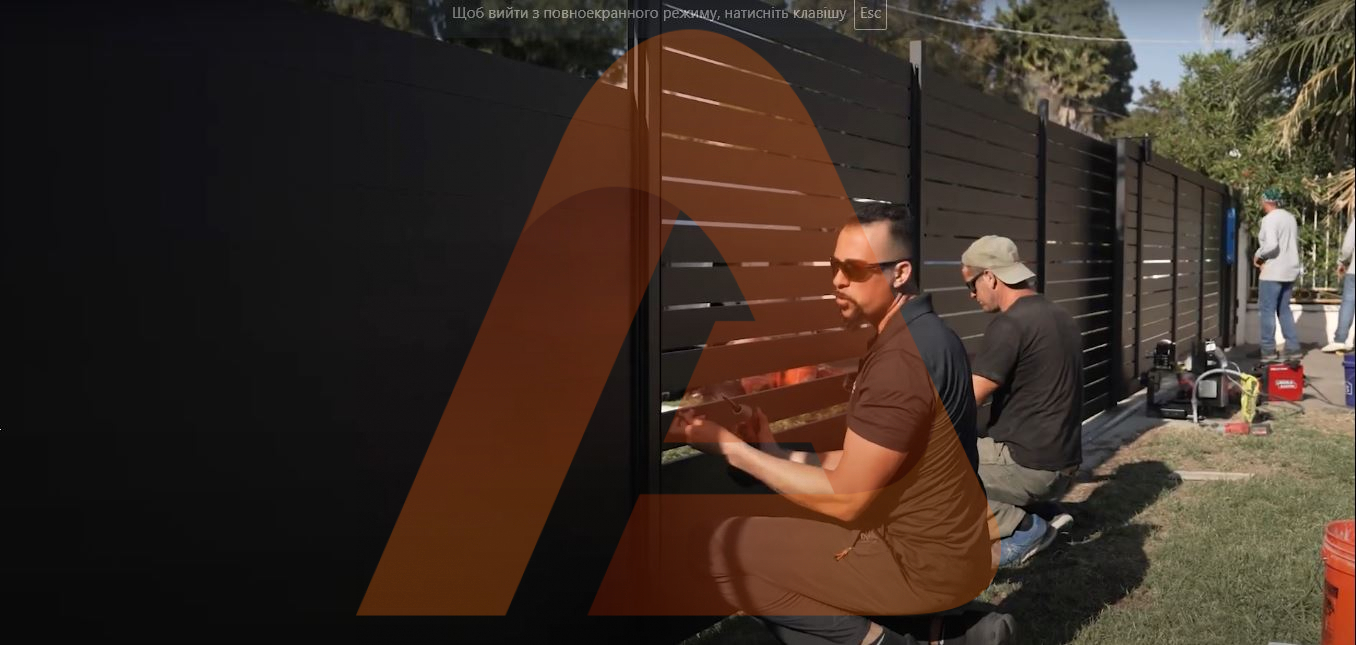
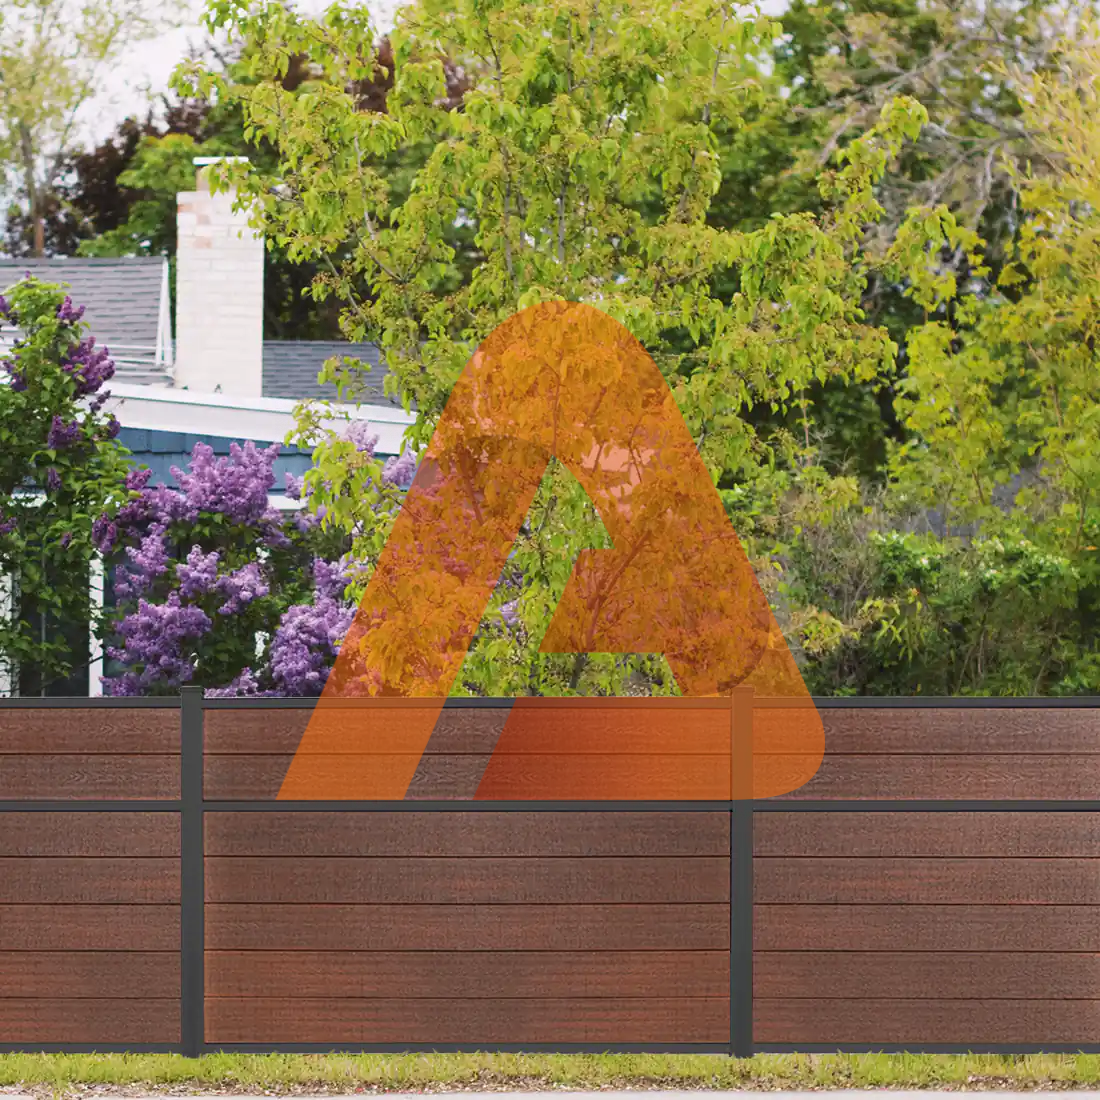
Thinking about installing an aluminum fence yourself? Whether you’re enhancing security, boosting curb appeal, or adding privacy, this DIY aluminum fence installation guide will walk you through the entire process. Follow these simple steps to build a modern horizontal aluminum fence with ease using the ALU60 Slat system. Let’s get started!
Step 1: Setting Up Your Posts
Your posts provide the foundation for your fence, so accuracy is key! Properly installed posts ensure that your fence will be sturdy, visually appealing, and capable of withstanding external forces like wind or accidental impacts. Taking the time to get this step right can save you from costly repairs or adjustments down the line.
- Measure & Mark – Use a measuring tape to mark where each post should go. This prevents rework later and ensures accurate spacing for a sturdy fence. If installing on uneven terrain, take elevation changes into account.
- Align the Three-Way Post – Position it at the correct height using a laser level or standard bubble level. Double-check both horizontal and vertical alignment to prevent future shifting.
- Secure the Crusen Post – If mounting on concrete or brick, use high-quality masonry screws or anchors. Pre-drill pilot holes to avoid cracks and ensure a secure grip for long-term stability.
- Double-Check for Level – If your post isn’t perfectly level now, the entire fence may look uneven. Adjust as needed and reinforce with temporary supports while securing the structure.
Step 2: Installing the Bottom Rail
Now that the posts are solid, it’s time to install the bottom rail, which holds the slats in place. This step is crucial for structural integrity, so make sure it’s level and properly secured. A well-installed bottom rail ensures that your fence remains sturdy over time, preventing misalignment or sagging. Take your time with this step, as any mistakes here will affect the entire fence.
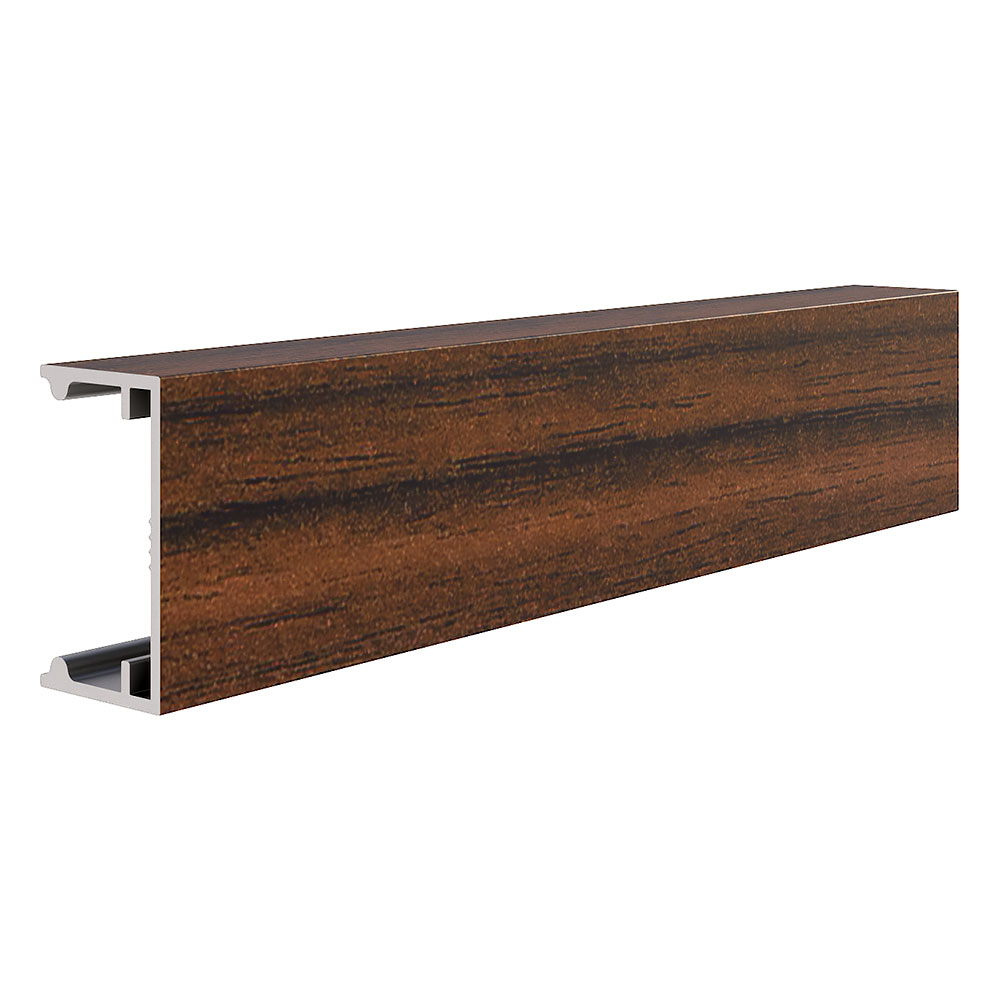
– Slide the Bottom Rail into Position – Ensure it sits flush between the posts or wall extrusion.
– Secure with Screws – If installing over soft ground, drive small stakes underneath for extra support while securing.
– Double-Check Alignment – If the bottom rail isn’t level, all the slats will be slightly off, and it will be noticeable.
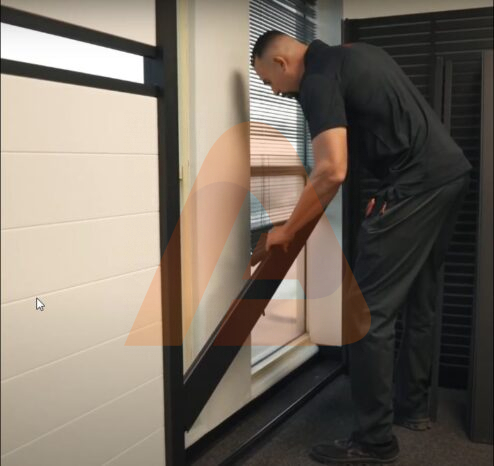
Design Your Ideal Fence Today!
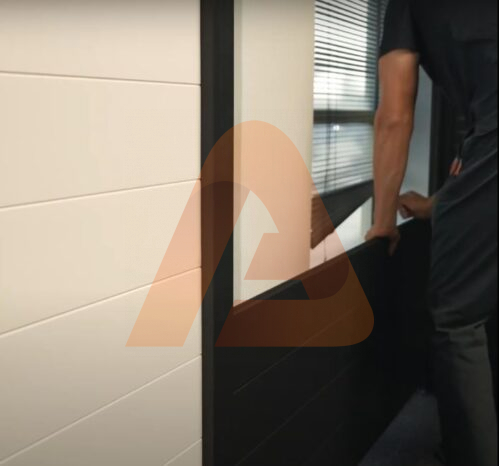
Step 3: Sliding in the Fence Boards
This is the easiest and most satisfying part! The aluminum fence boards are designed to slide right in without screws, making installation quick and hassle-free. With a seamless fit, you’ll achieve a clean, professional look without the need for extra fasteners. Plus, this system allows for easy adjustments if needed, ensuring each board is perfectly aligned for a sturdy and visually appealing fence.
- Start with One Board at a Slight Angle – This helps it drop smoothly into the bottom rail.
- Slide It in Fully – Press down slightly to ensure it’s locked in place.
- Continue Adding Boards – Work one at a time, keeping each one snug against the next. If installing in hot weather, leave a 1/16-inch gap between boards to allow for expansion.
Step 4: Creating a Privacy Gap (Optional)
If you want airflow or a modern open look, you can create gaps between boards instead of a full privacy fence. This not only enhances ventilation but also adds a stylish, contemporary touch to your outdoor space. Strategic spacing can reduce wind resistance, making your fence more durable in stormy conditions while maintaining a sleek aesthetic.
- Use the Stoppers – These spacers allow you to create 2-inch, 1-inch, or custom gaps between boards.
- Insert at Regular Intervals – Ensure each board sits evenly on its stopper.
- Check the Look – Step back and confirm uniform gaps before moving forward.
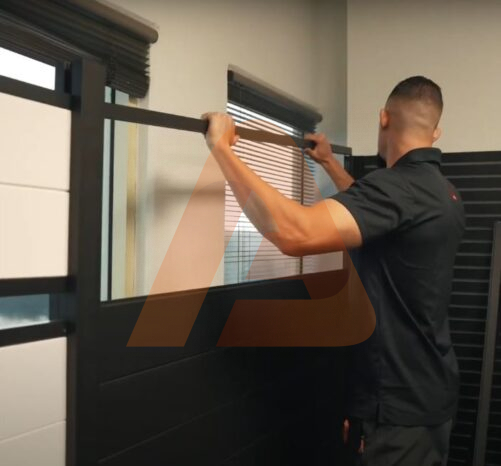
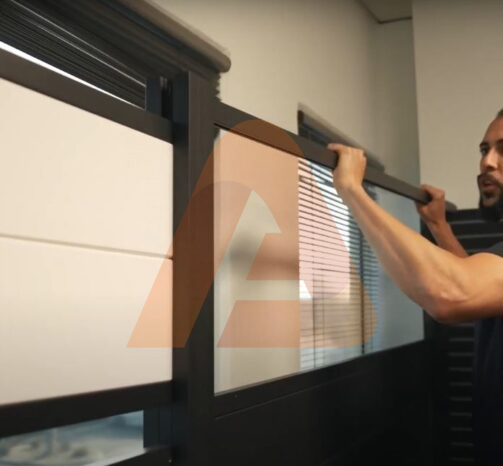
Step 5: Securing the Fence to the Wall/Post
Now, let’s lock everything in place for durability and strength. A well-secured fence not only enhances stability but also ensures longevity, preventing issues like sagging or shifting over time. Properly fastening each component will help your aluminum fence withstand harsh weather conditions and daily wear.
- Drill and Secure the Wall Extrusion – If mounting on concrete or brick, use expansion anchors.
- Fasten to the Post – Use corrosion-resistant screws to prevent rust.
- Shake Test – Give the frame a little shake. If it moves, tighten the connections.
Design Your Ideal Aluminum Fence Today!
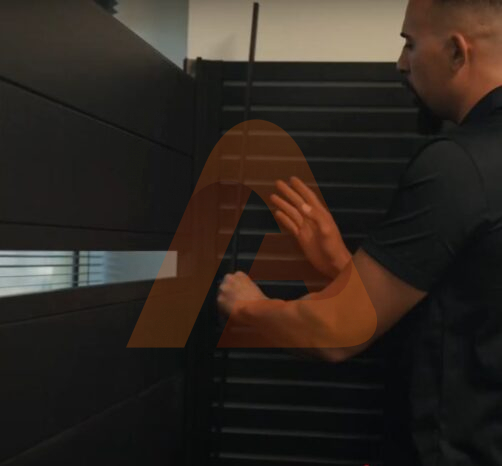
Step 6: Installing the Gap Closer & Hiding Screws
For a clean, professional look, it’s important to cover up the screws. Exposed screws can make the fence look unfinished and may also be a potential safety hazard. Using a gap closer ensures a sleek, seamless appearance while also protecting the hardware from weather-related wear and tear.
- Grab the Gap Closer – This small piece not only covers gaps but also hides any exposed screws.
- Snap It into Place – Press firmly so it clicks in securely.
- Slide It Down – Adjust it so it sits flush for a seamless finish.
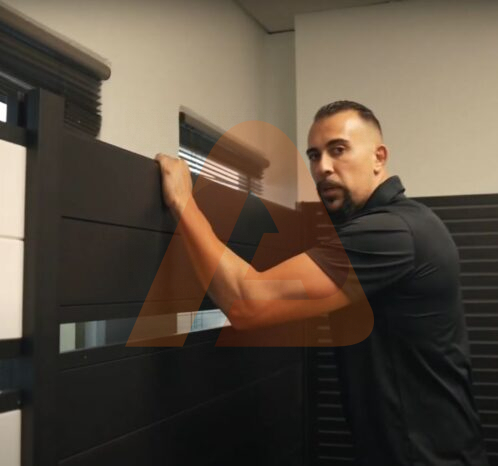
Step 7: Installing the Top Rail & Final Touches
Now for the finishing touch—installing the top rail and finalizing your aluminum fence. This step not only enhances the fence’s structural integrity but also gives it a polished, professional look. A well-installed top rail ensures that your fence remains sturdy and visually appealing for years to come.
- Slide the Top Rail Into Position – Make sure it fits snugly between the posts.
- Secure It in Place – Use screws to lock it down.
- Install the Capped Post – This final touch gives your fence a clean, modern look.
Final Thoughts
This system is designed for speed, durability, and a sleek appearance. Whether you’re a homeowner or a contractor, this is one of the easiest fences to install. With minimal tools required and a straightforward assembly process, you can achieve a professional-looking result without the hassle of traditional fencing methods. Plus, aluminum fencing is low-maintenance, rust-resistant, and built to withstand harsh weather conditions, making it a long-term investment for your property.


