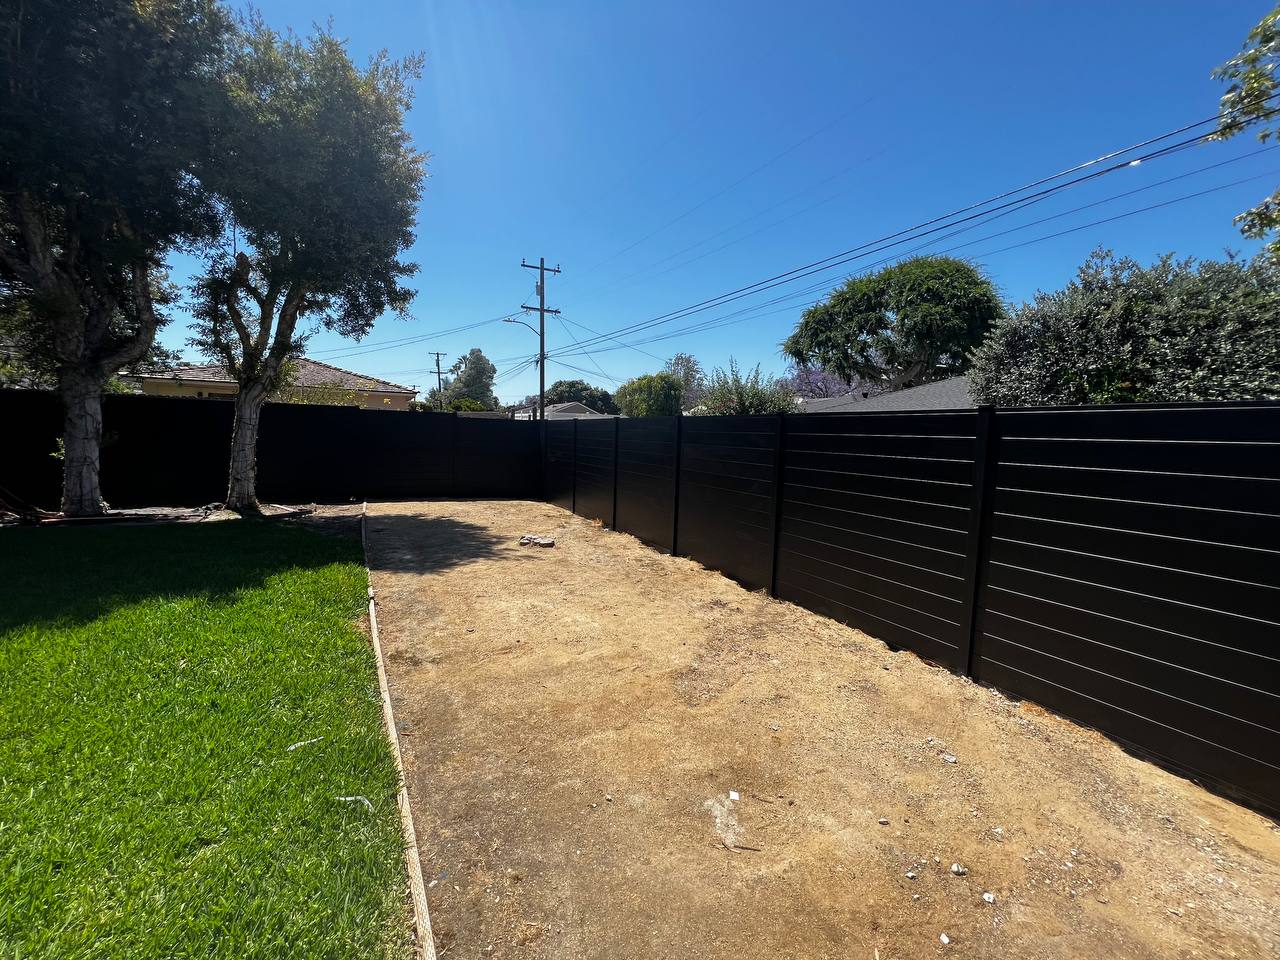
Expert Tips for DIY Aluminum Fence Installation
- By Admin
- Posted on
When installed correctly, aluminum fences can significantly enhance the aesthetic and security of your outdoor space. Installing one might seem intimidating, but with the right tools, preparation, and steps, you can successfully complete a DIY aluminum fence installation. However, if you’re not confident about the process, you can always hire a contractor. But if you’re determined to tackle the installation yourself, we’ve got expert tips to guide you through it!
This guide supplements our Installation Guide and provides you with all the information you need to get started.
How to Install Aluminum Fence: Step-by-Step Guide
Learning how to install an aluminum fence doesn’t have to be complicated. With the right tools and planning, you can create a durable, low-maintenance fence that enhances both privacy and curb appeal. Start by marking your fence line with string and stakes, then dig post holes at the recommended spacing (72.5″ for 2″ posts or 73″ for 2.5″ posts). Set your posts in concrete to ensure long-term stability, keeping them level as you go. Once the posts are secured, attach the aluminum fence panels, making sure the screw side faces inward for a clean, professional look. If you need shorter sections, panels can be cut with a metal cutting wheel for a precise fit. Finally, double-check alignment across the entire run to maintain a straight, even fence line.
Installing aluminum fencing yourself saves money, increases property value, and gives you a sleek, modern barrier that won’t rust, rot, or warp. Whether for a backyard, pool area, or perimeter, this process ensures your fence looks great and stands strong for decades.
Quick DIY Aluminum Fence Overview
- Estimated install time: 1–2 days
- Tools needed: Drill, post hole digger, level, concrete, measuring tape
- Panel spacing: 72.5″ for 2″ posts, 73″ for 2.5″ posts
- Recommended kit: Alu40 Woodgrain Aluminum Fence Kit
Check for Underground Utilities
Before you break ground on your aluminum fence installation, it’s crucial to ensure there are no underground cables, pipes, or utilities that could be damaged during installation. Here’s what you need to do:
- Call your local utility companies to inquire about underground cables and pipes. Be sure to contact both water and electricity providers, as they may be separate in some regions.
- Contact your local health department to find out the location of septic lines.
- Call your local government if you’re unsure which agencies manage certain utilities. They can also provide you with zoning regulations.
- If you’re still uncertain, hiring a land surveyor can ensure you find all the utilities, drainage, and sewer lines before you start digging.
Gather the Right Tools for Installation
To successfully install your aluminum fence, you’ll need several essential tools. Start with string and wooden stakes to mark the layout of your fence line; wooden stakes are easier to see and work with. A post-hole digger is necessary for digging post holes, with a manual one being ideal for smaller projects, while larger ones may require an auger, which can often be rented from local hardware stores. A shovel is essential for digging around posts or filling in the holes. A level ensures your fence panels are straight and level, improving their appearance. For a sturdy installation, use concrete to anchor your posts, as it lasts longer than gravel. Accurate measuring tape is important for spacing posts and panels correctly. A cordless drill or impact driver is necessary to drive screws, and we recommend using a magnetic drill bit holder to avoid losing screws. An optional digging bar can help break up hard ground and pack in loose dirt around posts, while a rubber mallet (optional) helps hammer posts in place without causing damage.
Mark and Lay Out Your Fence Line
Start by marking the fence line using string and stakes. This will help you determine where each post should go, starting with the end and corner posts. Once you have the stakes in place, stretch the string between them to create a straight line. This string will be your guideline for the rest of the installation.
Next, mark where each post will go along the fence line, making sure that they are spaced at 72-½ inches apart from post center to post center (for 2-inch posts). This is the standard spacing for 6-foot wide fence panels. For 2.5-inch posts, space them 73 inches apart.
Cut Aluminum Fence Panels if Needed
Not all fence runs will be perfectly divisible by 6 feet, so you may need to cut an aluminum fence panel to the right size. To do this, start by measuring the desired length of the panel and laying it on the ground. Keep in mind that ¾ inch of the panel fits inside the post, so make the cut ¾ inch longer than the measured length. Next, mark the cutting lines on the horizontal rails using a silver Sharpie, as it is visible on black aluminum. When you’re ready to cut, you can use a hacksaw, but for a faster and more efficient process, an angle grinder with a metal cutting wheel is recommended. Always wear safety glasses and ear protection when using power tools to ensure safety.
Attach Fence Panels to Posts
When attaching your panels to the posts, ensure the screw side of the panel faces inward. This is not only aesthetically pleasing but also prevents screws from being visible on the exterior, creating a sleek, professional finish. The key here is consistency — make sure the screws on all panels face the same direction to maintain a uniform look throughout the entire fence. This small detail will contribute significantly to the overall appearance and quality of your installation, ensuring that your fence not only functions well but also looks great.
Frequently Asked Questions
How long does it take to install an aluminum fence?
Most DIY projects take 1–2 days depending on yard size and tools used.
Can I install aluminum fence posts myself?
Yes, with basic tools and concrete, most homeowners can install posts accurately and securely.
Do I need a permit to install an aluminum fence?
Many cities or HOAs require permits for new fence installations. Always check local zoning laws before starting.
What tools are required for aluminum fence installation?
Essential tools include a post hole digger, drill, level, measuring tape, concrete mix, stakes, and string. Optional tools include a digging bar and rubber mallet.
Is a DIY aluminum fence kit worth it?
Yes. Kits include pre-measured panels, posts, and mounting hardware, which saves time and simplifies the installation process.
Conclusion: Ready to Install Your Aluminum Fence?
Following these expert tips will help ensure a smooth and successful DIY aluminum fence installation. From preparation to execution, each step is crucial to achieving a secure and attractive fence. Remember, measure twice, cut once — and don’t hesitate to ask for help when needed.
Need professional assistance or high-quality materials for your fence project? Contact Aluglobus Fence today for everything you need to install your perfect aluminum fence!


