How to Install an 8ft Tall Aluminum Frame Fence with Vinyl Panels Like a Pro
- By Admin
- Posted on
Step 1: Gather Your Materials & Tools
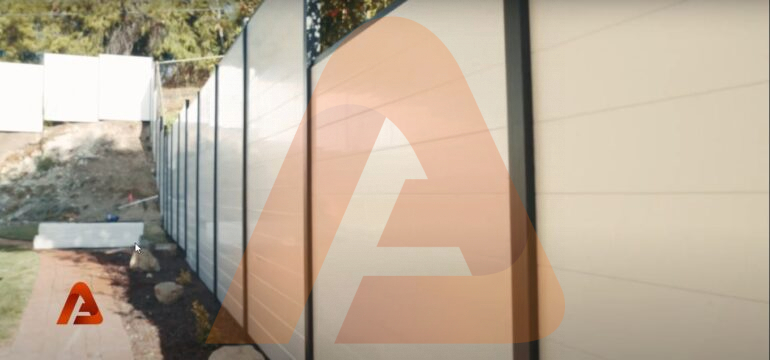
Hey everyone! I’m here with AluGlobus, and today, I’m going to walk you through the step-by-step process of installing an 8-foot tall aluminum frame fence with vinyl panels—the ultimate solution for privacy, durability, and style.
This is a DIY-friendly project, and I’m going to show you exactly how you can do it quickly and easily. Let’s get started!
Before we begin, make sure you have everything ready.
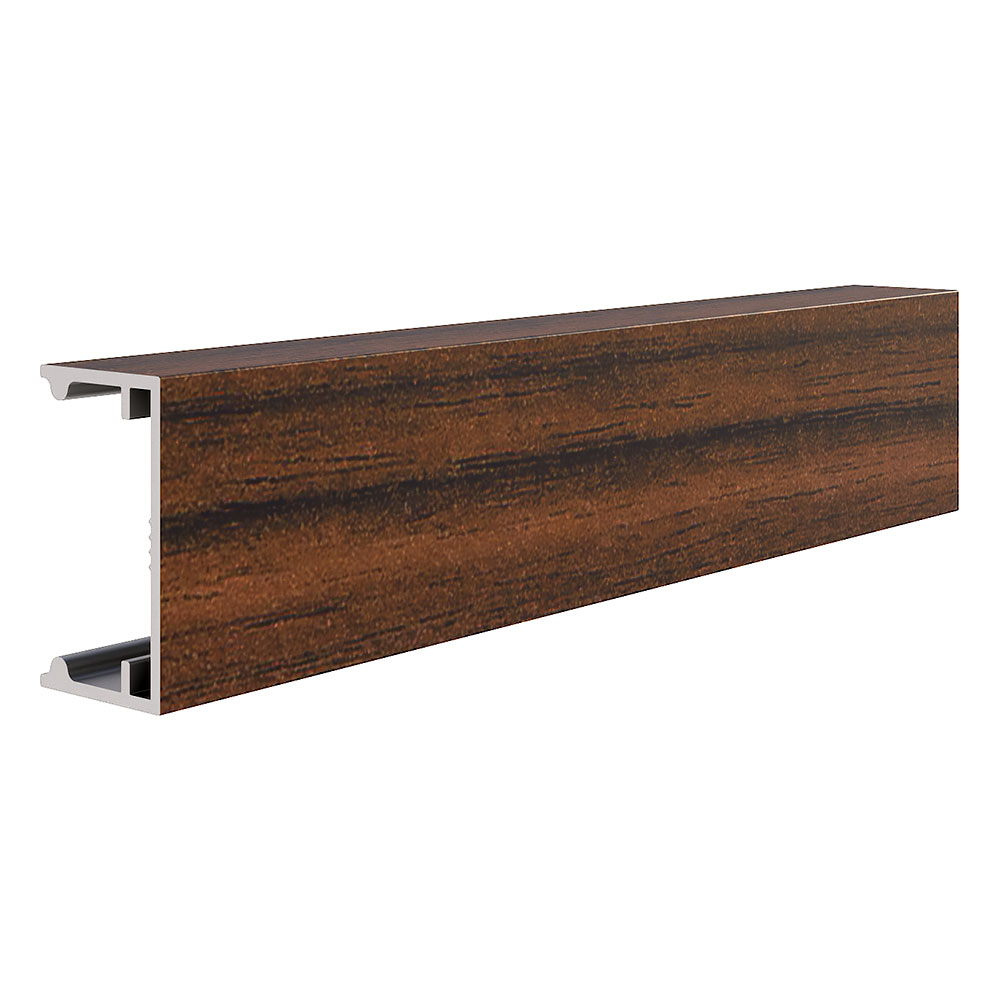
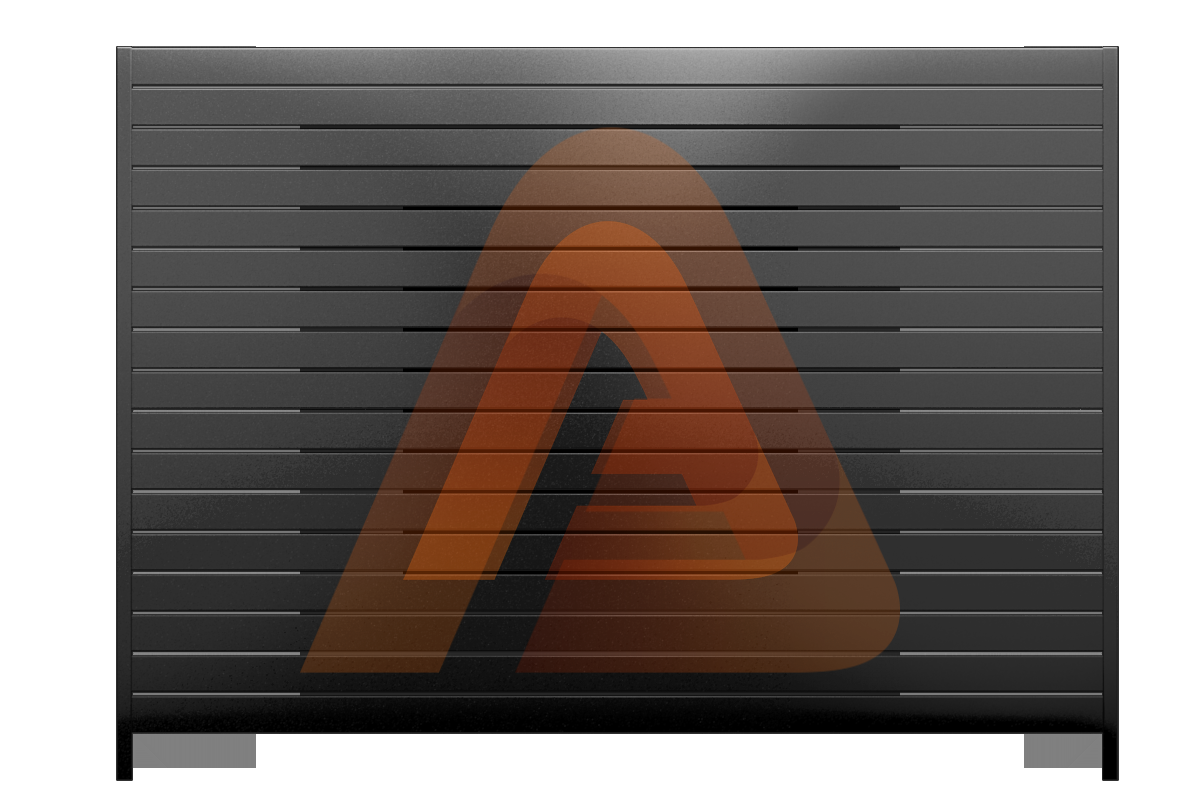
- Fence Panels – 8×6 aluminum frame with heavy-duty vinyl panels
- Posts – Aluminum posts for strength and stability
- Concrete Mix – To secure the posts
- Level – To keep everything straight and aligned
- Post Hole Digger or Auger – To dig the foundation
- Drill & Screws – To secure the panels in place
- Tape Measure – For precise measurements
- Rubber Mallet – To fit panels snugly
We ship everything straight to your door, so you get everything you need without any hassle!
Step 2: Mark Your Fence Layout
First, decide where your fence will go.
- Measure and mark the spots where each post will be placed.
- Use string lines to create a straight and even boundary for the fence.
- Make sure you’re following local regulations and property lines!
Tip: Space each post according to the size of your panels. Standard spacing is about 6 to 8 feet apart.
Design Your Ideal 8 Feet Fence Today!
Contact us now to bring your vision to life with custom designs that fit your style and needs.

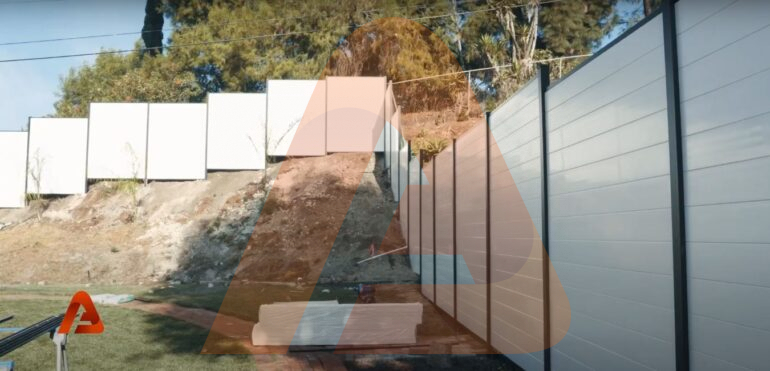
Step 3: Dig the Post Holes & Set the Posts
Now, let’s secure the foundation!
- Dig holes at least 2 feet deep (or deeper, depending on local codes) for stability.
- Place the aluminum posts into the holes and use a level to ensure they are straight.
- Pour concrete mix into each hole and allow it to set (usually 24 hours).
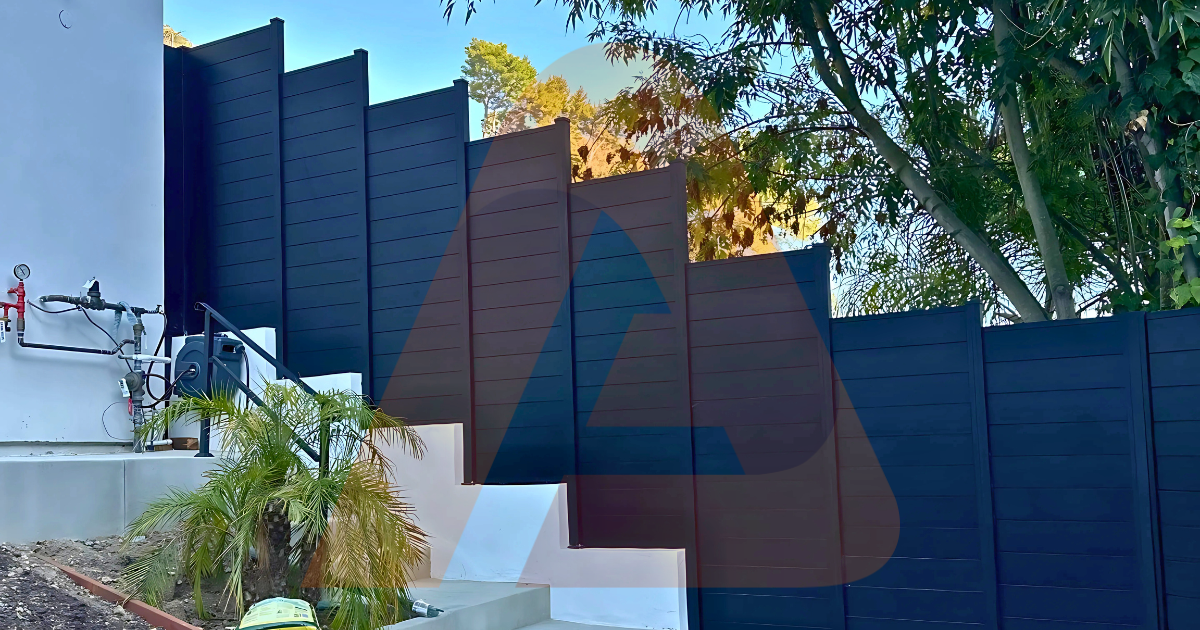
Pro Tip: If you’re working on a sloped surface, adjust your post heights accordingly to maintain an even look.
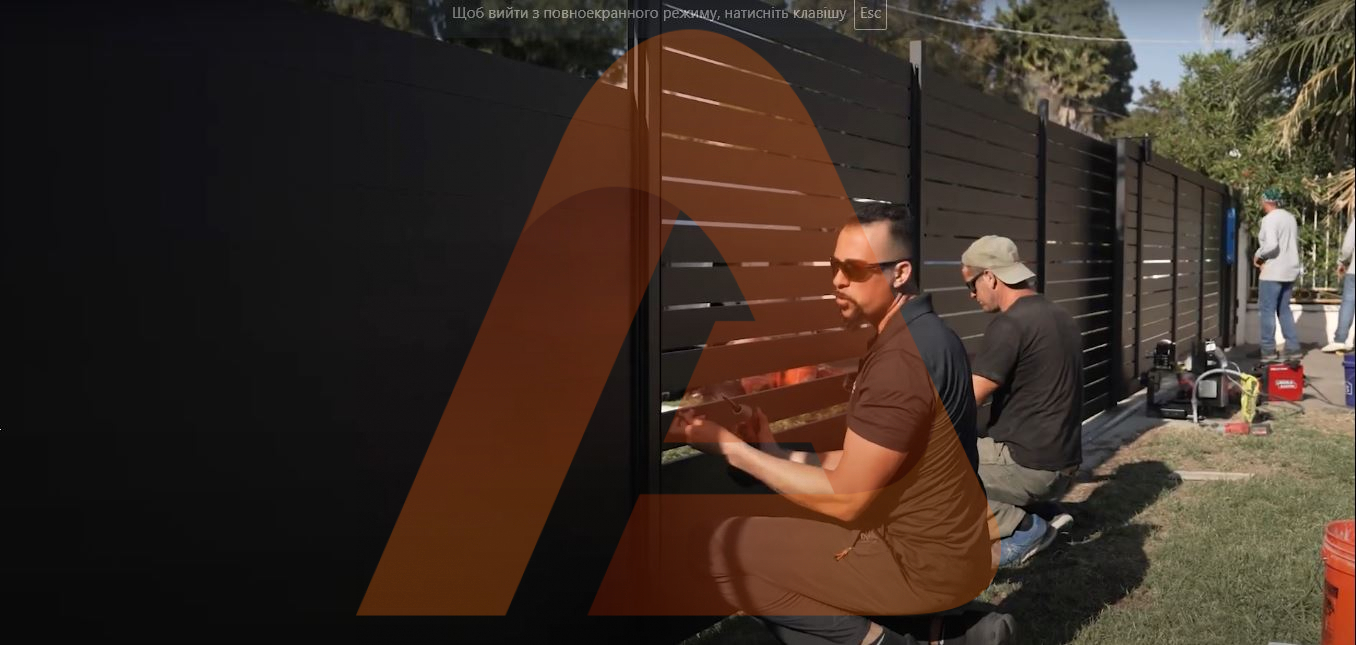
Step 4: Attach the Aluminum Rails
Now that your posts are solid and secure, it’s time to install the aluminum frame rails!
- Start with the bottom rail and secure it to the posts using your drill and screws.
- Double-check alignment with a level before moving on.
- Repeat the same process for the top rail.
This creates the structure that will hold the vinyl panels in place!

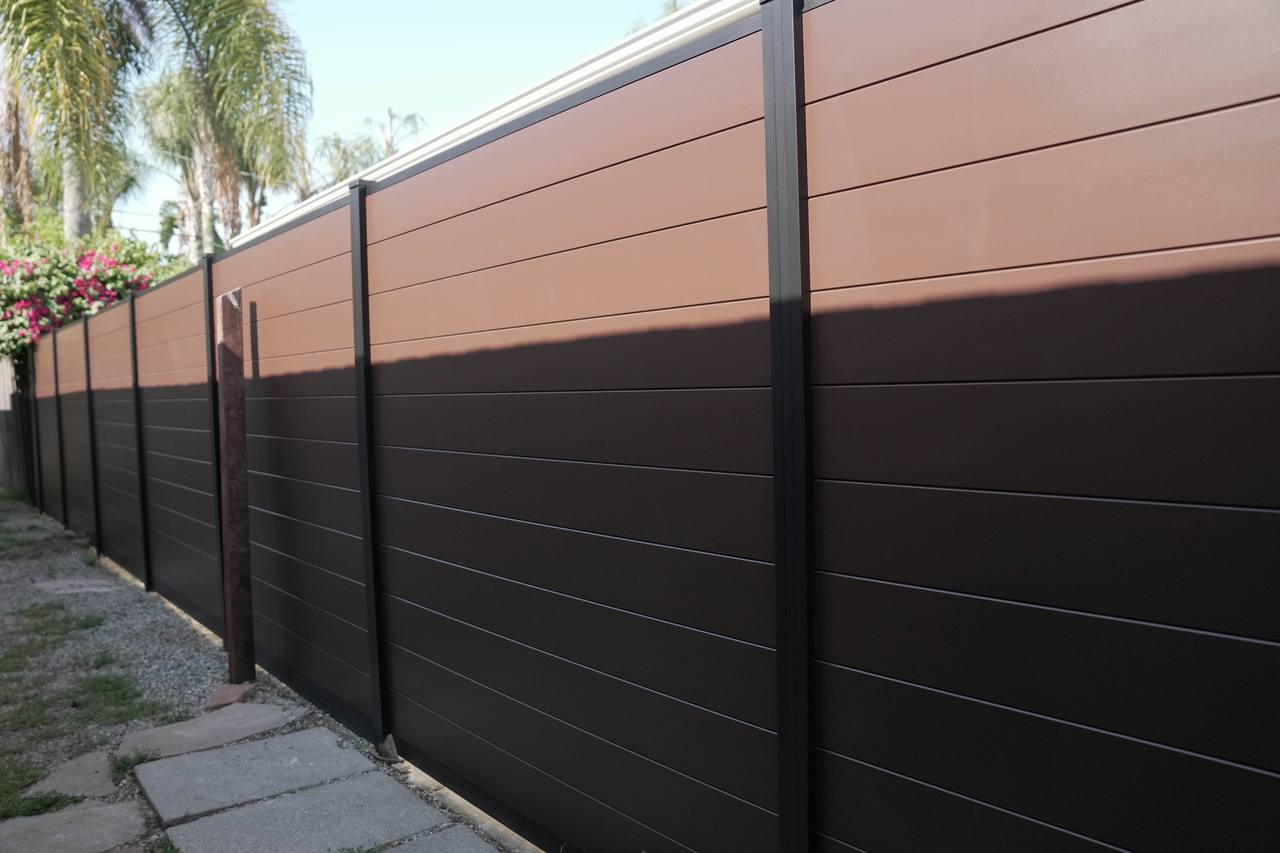
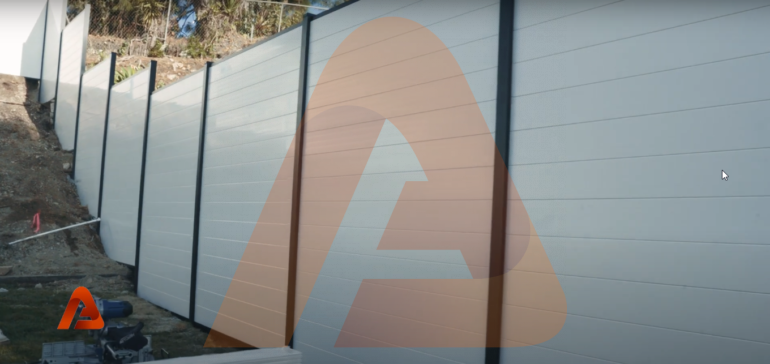
Step 5: Insert the Vinyl Panels
Time to install the vinyl panels for that sleek, modern, and private look!
- Carefully slide the vinyl panels into the aluminum rails.
- Use a rubber mallet to gently tap them into place.
- Secure everything with screws if necessary.
If you need to cut panels to fit a specific space, use a circular saw with a fine-tooth blade.
Design Your Ideal 8ft Aluminum Frame Fence Today!
Contact us now to bring your vision to life with custom designs that fit your style and needs.
Step 6: Secure the Final Touches
Almost done! Let’s make sure everything is tight and secure.
- Check all screws and connections – tighten anything that feels loose.
- Walk along the fence and inspect for alignment and stability.
- Clean off any dust or debris to get that fresh, polished look.
And just like that, you have a beautiful, durable, and maintenance-free fence installed in no time!

Step 7: Enjoy Your New Fence!
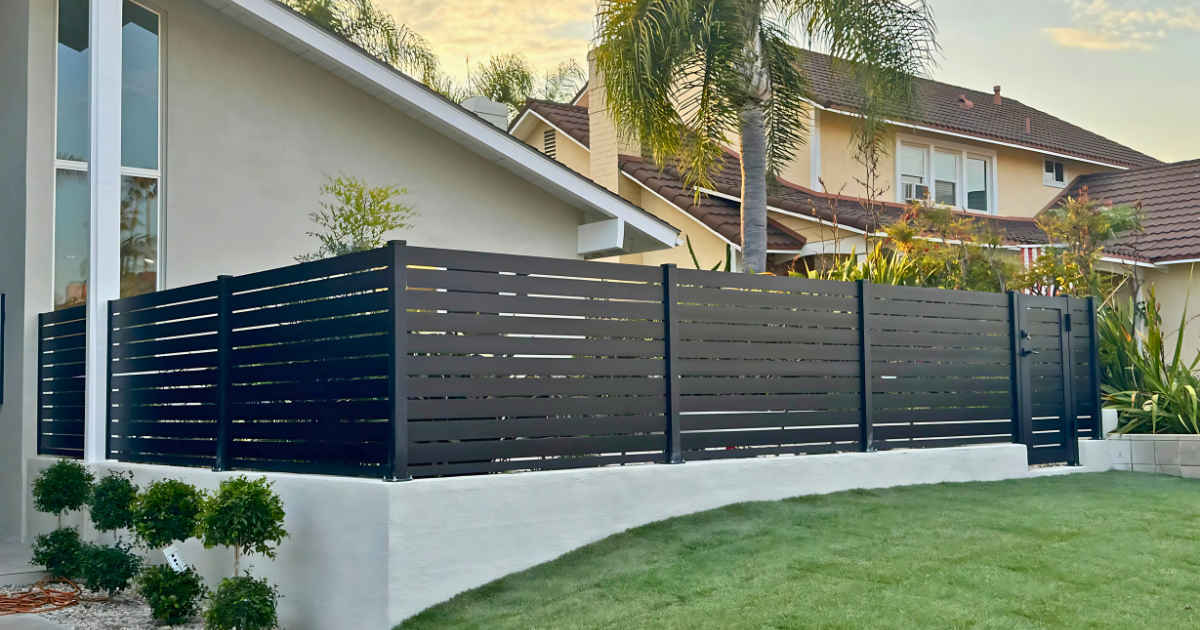
Now, step back and admire your work. This 8ft aluminum frame fence with vinyl panels is:
- Private – Keeps your backyard safe and secluded
- Durable – Weather-resistant and built to last
- Stylish – A modern, sleek design that enhances any home
- Easy to Maintain – No painting, no rust, no headaches!
And the best part? This system is customizable, budget-friendly, and available for nationwide shipping straight to your door!
So, whether you’re a contractor or a DIY homeowner, AluGlobus has got you covered. Get your free quote today and start your next project!
Leave your request
Leave a request and we will contact you within 15 minutes.
FAQs
Can I install an 8ft aluminum frame fence with vinyl panels myself?
Yes. The AluGlobus system is designed for DIY installation. With basic tools and careful planning, most homeowners or contractors can install this fence without hiring a pro.
What tools do I need to install an aluminum frame vinyl fence?
You’ll need a drill, screws, level, post hole digger or auger, rubber mallet, tape measure, and a circular saw with a fine-tooth blade if panel cutting is needed.
How deep should I set fence posts for an 8ft tall fence?
Posts should be set at least 2 feet deep, possibly deeper depending on your soil, wind exposure, and local building codes. Concrete is required for stability.
Do I need a permit to install an 8ft tall fence?
In most areas, yes—especially for fences over 6 feet. Always check with your local city or HOA before starting installation to avoid violations.
Are vinyl fence panels durable in extreme weather?
Absolutely. Vinyl panels are UV-resistant, moisture-proof, and won’t rot, rust, or warp, making them ideal for hot, rainy, or coastal environments.
What are the benefits of aluminum over wood or steel frames?
Aluminum is lightweight, rust-proof, and low-maintenance, unlike steel (which rusts) or wood (which warps, rots, and needs upkeep).