Expert Tips for DIY Aluminum Fence Installation
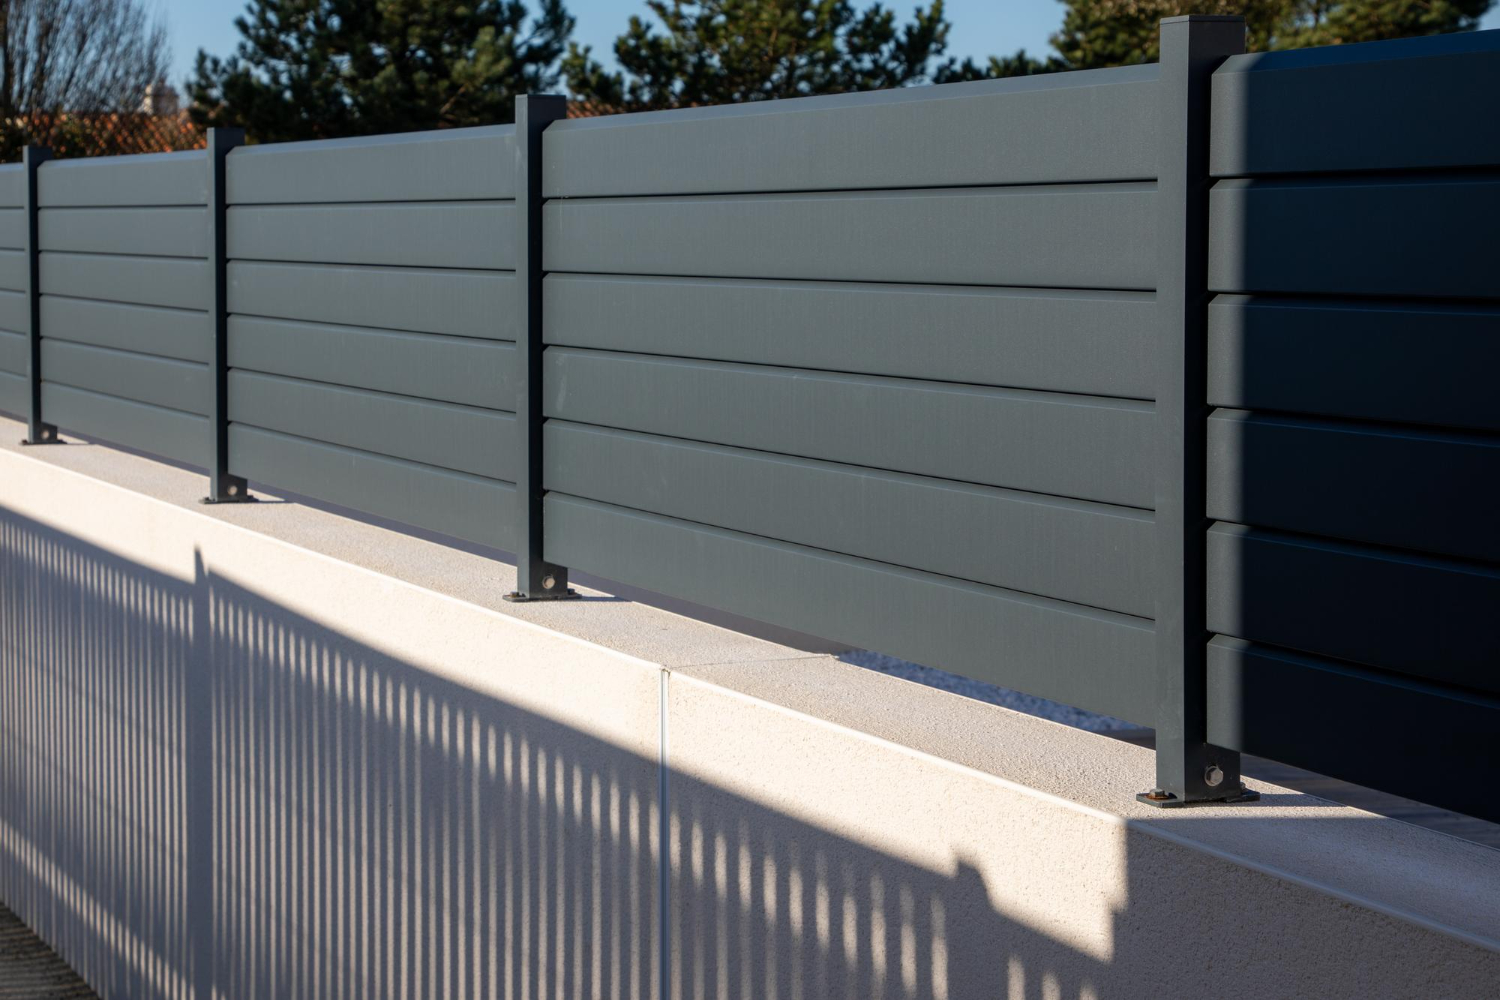
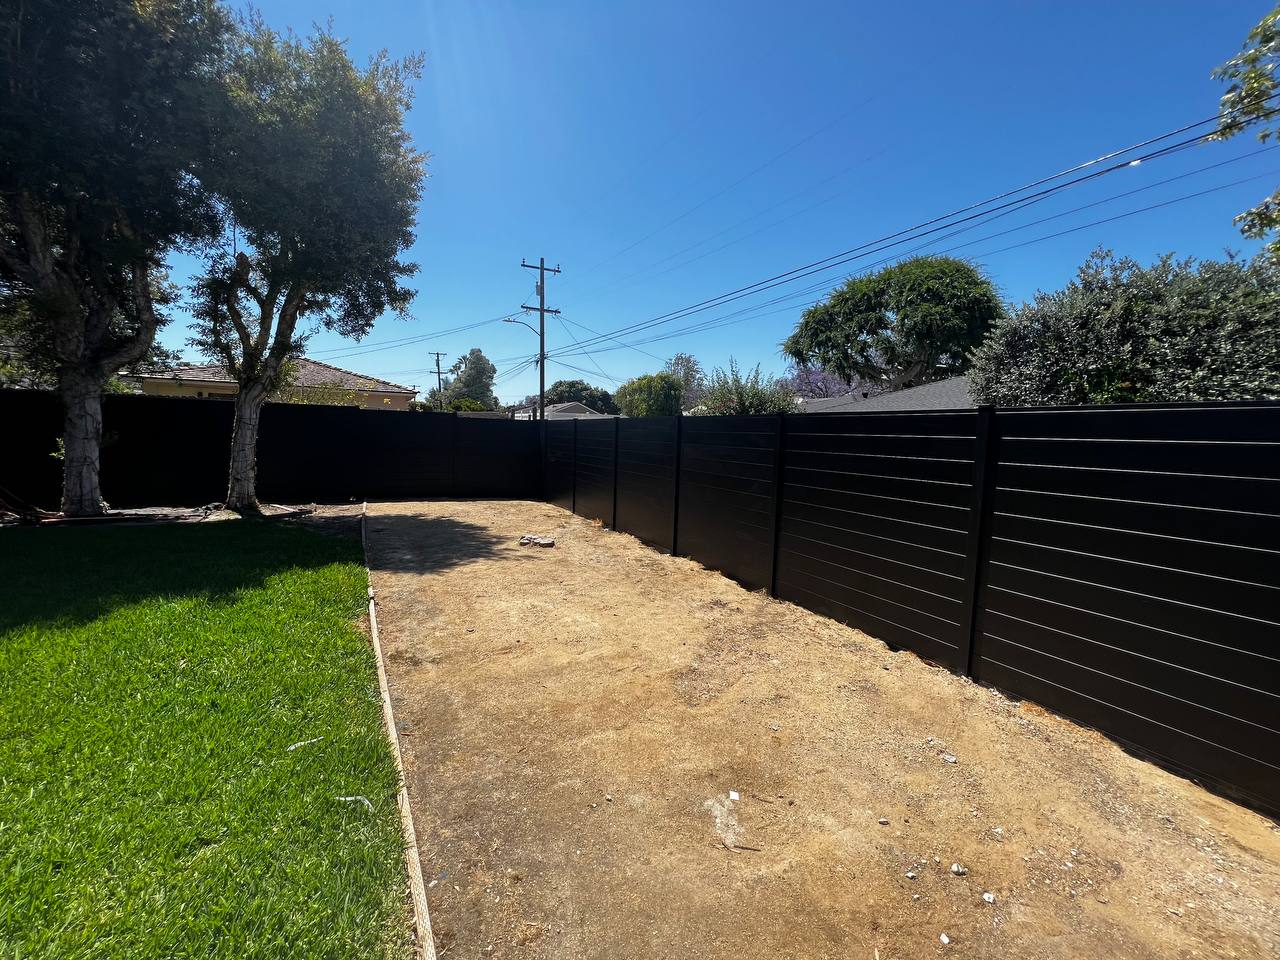
When installed correctly, aluminum fences greatly enhance your outdoor space.
Just because something is DIY (Do-It-Yourself) doesn’t mean everyone can do it themselves. Our fences are easy to install and maintain. However, if the prospect of installing your fence seems challenging, you can always hire contractors.
If you’re set on doing it yourself, let us give you some helpful tips!
These tips supplement our Installation Guide.
Before you even break ground, call the right people for the right information.
Before you install your aluminum fence around your backyard, you’ll need to learn what’s underneath it. There may be underground cables, pipes, water, and septic lines.
1. Call your local utility company to learn about the placement of underground cables and pipes. Some areas have different utility providers for water and electricity, so make sure to call both.
2. Call your local health department to learn where your septic lines are.
3. If you are unsure who runs which utility, call your local government to learn more information about your region. Also, ask them about your local zoning regulations.
4. If all else fails, contact a surveyor to find your utilities, drainage, and sewer lines.
The right tools for the right job.
You will need:
– String to lay out the fence line.
– Wooden stakes to mark the placement of the posts. Some people use clothespins, but we prefer wooden stakes because they are easier to notice and work with.
– A post-hole digger. The manual post-hole digger looks like a giant tongs made of two shovels. If you need to purchase this tool, choose one that is around your height so you don’t have to bend down all day. For bigger projects, you might want an auger, which is a heavy-duty, mechanical hole digger. They are more expensive, but most hardware stores let you rent them.
– A shovel.
– A level. This is very important. You want all your fence panels to look level; otherwise, it detracts from their appeal.
– Concrete to fill in the post holes. Some suggest gravel; however, concrete is sturdier and will last longer.
– A measuring tape.
– Cordless drill or impact driver. Additionally, we recommend using a magnetic drill bit or a magnetic bit holder. These add-ons prevent you from losing screws in the grass.
– (Optional) a digging bar. A digging bar looks like a spear with a sharp end and a flat end. The sharp end can break up the ground, while the flat end packs in loose dirt.
– (Optional) a rubber mallet to hammer down your posts so they are the same height. We recommend a rubber mallet so it does not damage the post. However, if you only have a metal hammer, you can place a block of wood between the posts and the hammer. The wood disperses the impact and prevents damage.
Lay it out.
Lay out your entire fence line using the string and stakes. The goal here is to mark out where all your posts will go, starting with the end posts and corner posts. Connect the stakes using string. The string will be your straight-line guide.
Now that you have laid out your fence line, you can break it up into linear runs. Along those runs, you’ll need a post centered to 72-½ inches. 72-½ inches is the magic number because ¾ inch of the end of the fence fits inside the post on both sides of a 2-inch post (2 inches minus 1.5 inches = ½ inch or 72.5 inches post center to post center). Our standard panels are 6 feet wide, so posts need to be spaced 72-½ inches from post center to post center for 2-inch posts (73 inches on center for 2.5-inch posts). Using your measuring tape, mark out your post locations.
What if you need to cut a panel?
Not all of your linear runs will be divisible by 6 feet, so how do you cut an aluminum fence panel? First, lay the panel on the ground and measure your desired length. We recommend cutting between the pickets. Keep in mind again that ¾ inch of the fence fits inside the post, so cut it ¾ inch longer than just to the side of the post.
Remember, measure twice and cut once. Measure out your desired length on the horizontal rails and mark each rail with a silver Sharpie. Silver Sharpie shows up the best on black aluminum. Once you are ready to make the cut, elevate the panel off the ground with some wood blocks.
To make the cut, you can use a hacksaw; just know it might take a while. For a quicker cut, you could use an angle grinder with a metal cutting wheel or a turbo blade. If you use power tools, follow their safety guidelines. Always wear safety glasses and ear protection.
The little screw detail.
When attaching the panels to the posts, you’ll notice there are screws on one side and not the other. We often suggest you place the screw side facing inward. However, what is important is consistency.
You don’t want one panel with the screws facing in and another facing out; it doesn’t look good. Just remember to keep it consistent. After a long day of hard work, we tend to forget the little details and start making simple mistakes.
Final tip: many hands make light work
Ask your neighbors and friends to help you out! Offer to get lunch and/or dinner. Of course, keep everyone hydrated. After your successful installation, celebrate with a round of drinks (drink responsibly).
Many hands make light work. Be gracious and grateful for any additional help. Offer to return the favor when they decide to install an aluminum fence around their property. It might also help to send them an installation or video guide so everyone is on the same page.


