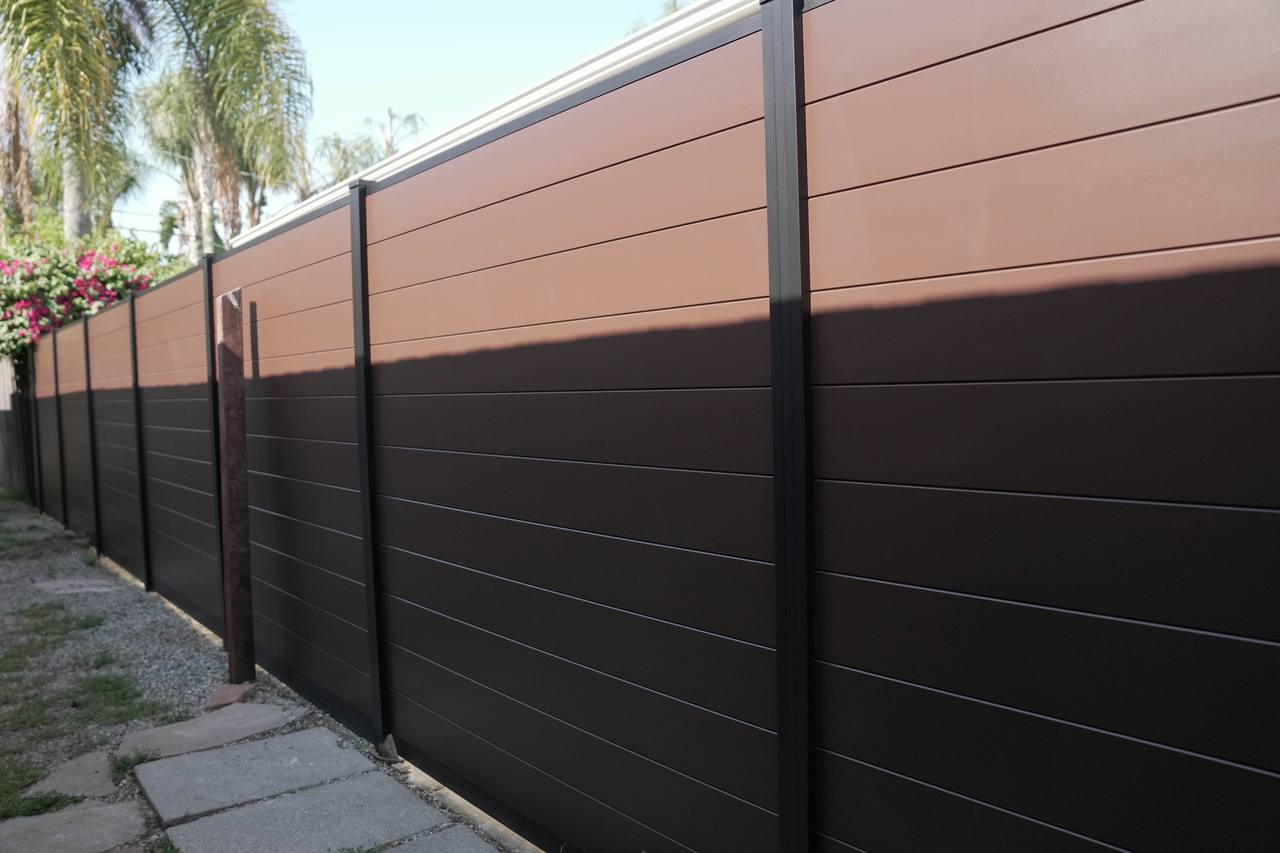
DIY Aluminum Vinyl Fence Installation Guide – Easy Steps
- By Admin
- Posted on
DIY Aluminum Vinyl Fence Installation Guide - Easy Steps
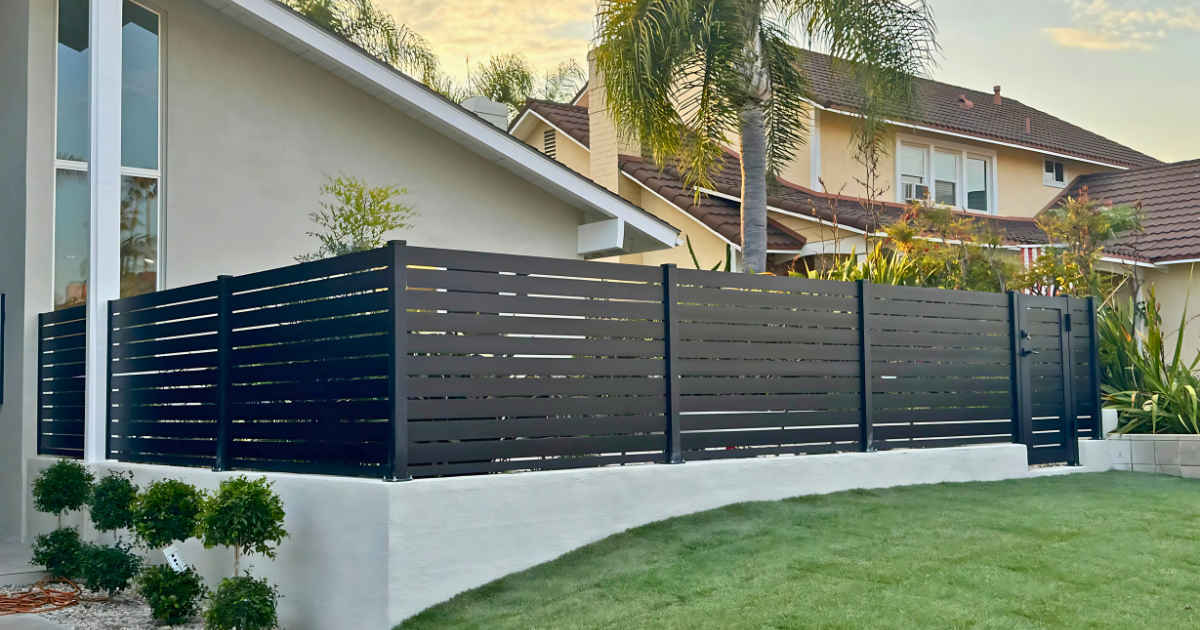
Installing your own aluminum vinyl fence has never been easier with Al Globus DIY fence kits. Our step-by-step process ensures that even if you’re new to fence installation, you can achieve professional results with minimal tools and effort. Whether you’re looking to enhance curb appeal, secure your property, or create a private outdoor space, this guide will walk you through every step—from preparation to final adjustments. By the end of this article, you’ll feel confident tackling your DIY fence project while avoiding common pitfalls.
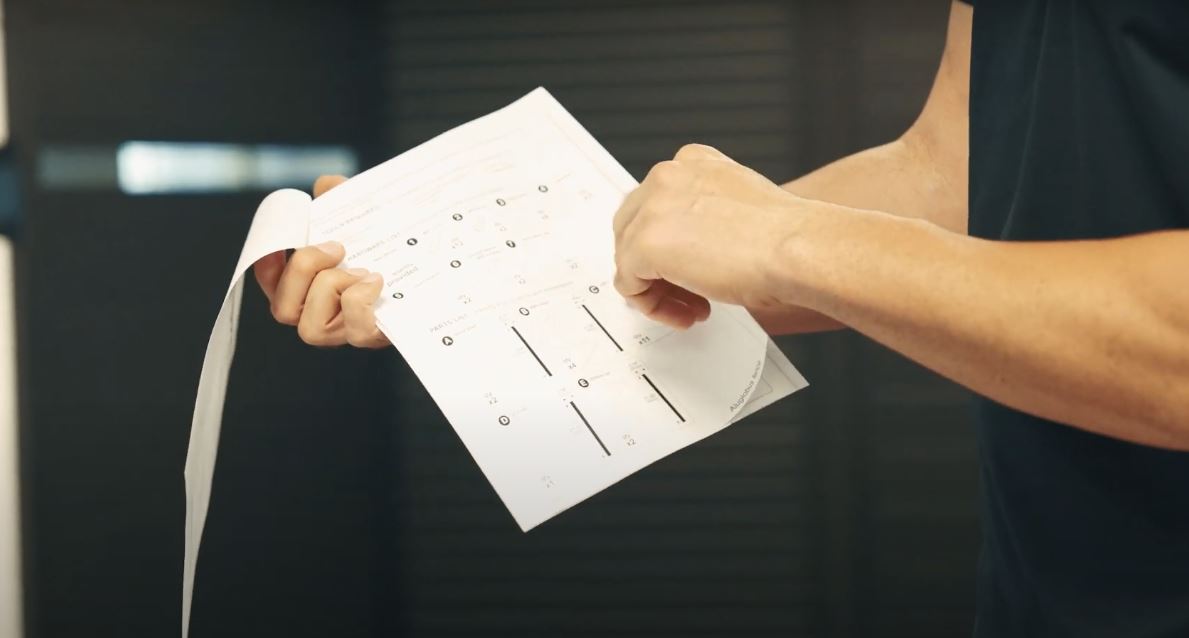
Step 1: Preparing for Success—Verifying Parts and Supplies
Before starting your fence installation, take time to verify all parts and supplies. Lay out the components from your kit and cross-check them against the manual to ensure nothing is missing or damaged. Gather essential tools like a level, drill, measuring tape, and safety gear. If anything is missing, contact customer support immediately to avoid delays. Proper preparation sets the stage for a smooth and successful DIY project.
Step 2: Building a Strong Foundation—Leveling and Aligning Posts
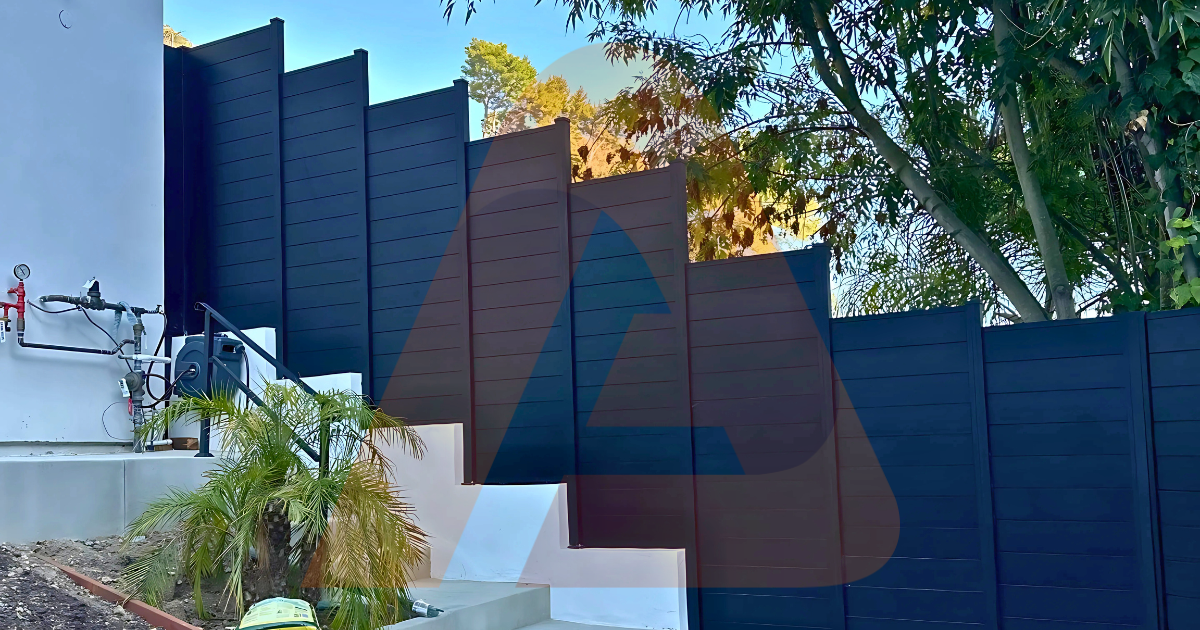
A solid foundation ensures your fence remains stable and visually appealing for years. Start by leveling the ground and setting your first post in concrete or using base plates for non-concrete applications. To set posts in concrete, dig a hole 18–24 inches deep, insert the post, and ensure it’s vertical with a level before filling halfway with concrete. Recheck alignment, finish filling, and let it cure for 24–48 hours. For alignment, use a taut string line between the first and last posts, measure equal distances (6–8 feet apart) for intermediate posts, and dig holes along the line. Proper alignment prevents gaps, tilts, or structural issues, ensuring your fence looks professional and performs well under stress.
Design Your Ideal Fence & Gates Today!
Design your perfect fence and gate today! Contact us now to bring your vision to life with custom designs that fit your style and needs.
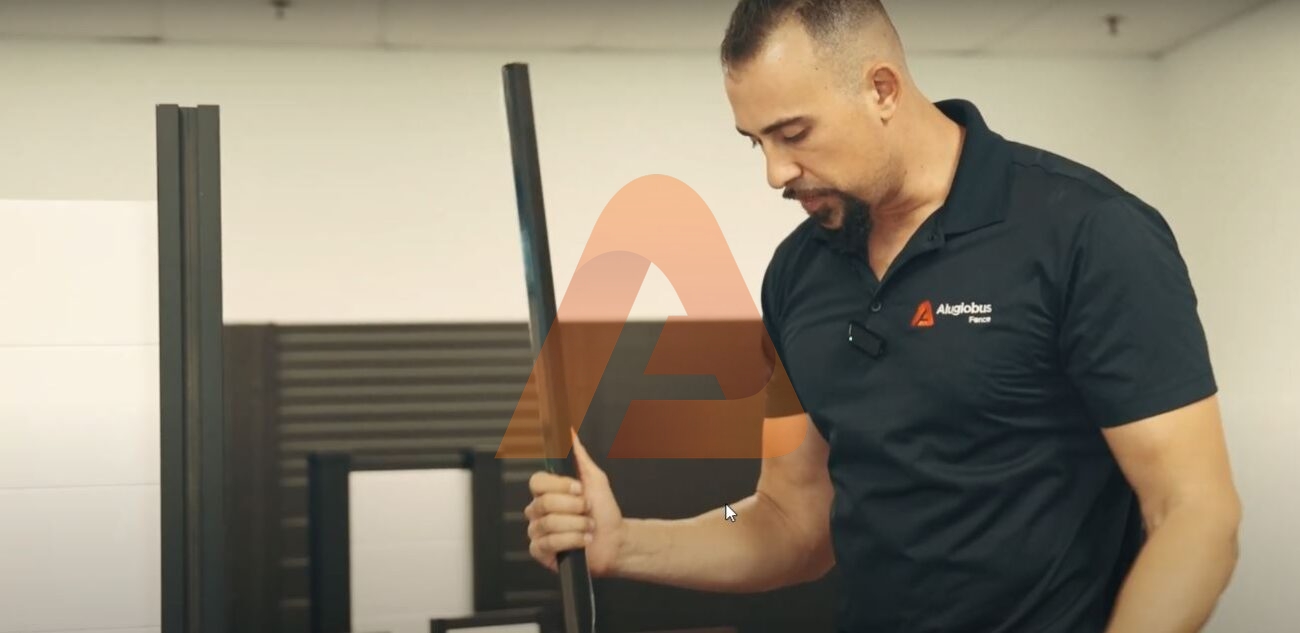
Step 3: Securing Posts with Two-Hole Brackets
Once your posts are set, securing them with two-hole brackets ensures stability and proper alignment. Slide the bracket onto the post, align it with pre-drilled holes, and insert screws. Partially tighten the screws to allow for adjustments, then fully secure them once everything is aligned. These brackets act as stoppers and level guides, making installation easier, especially for beginners. Avoid over-tightening screws, as this can strip threads or damage the bracket. Properly secured posts prevent wobbling and ensure a professional finish.
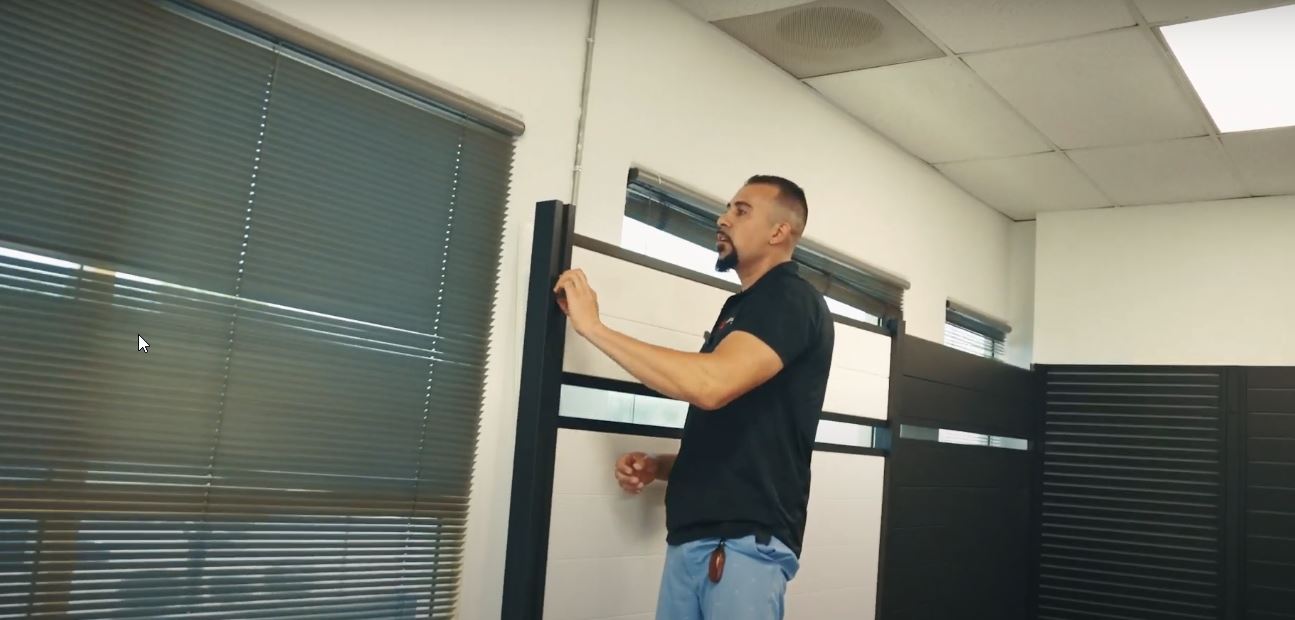
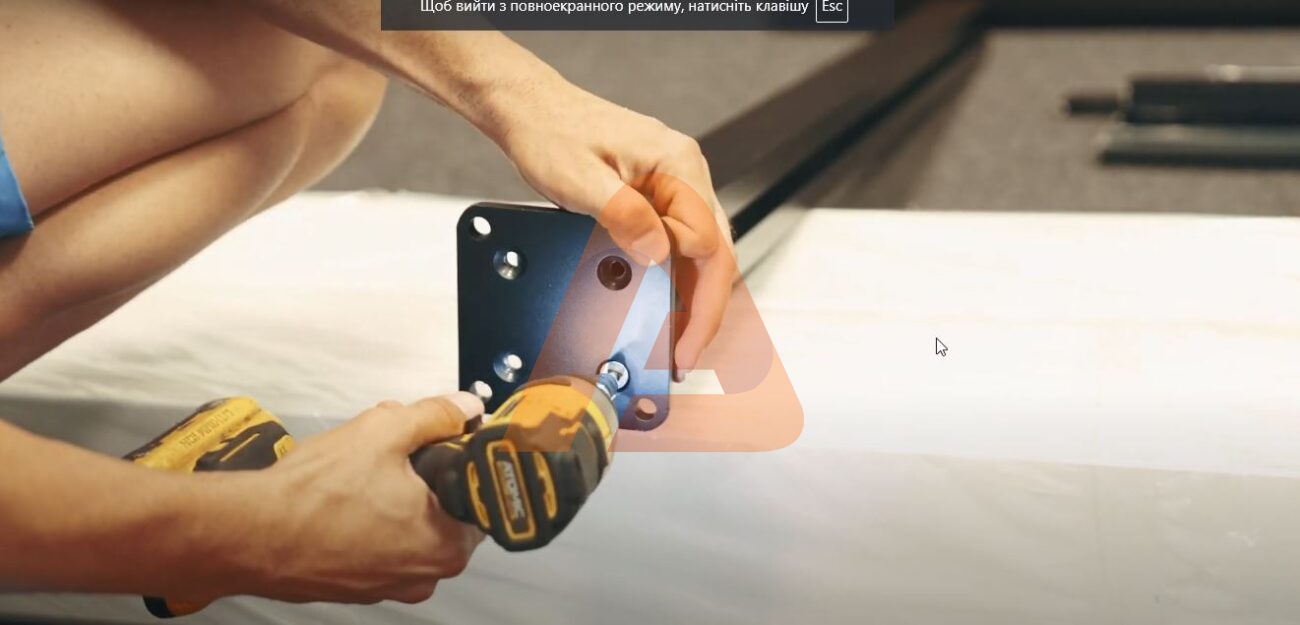
Step 4: Installing Base Plates for Non-Concrete Applications
Base plates are an excellent alternative when concrete isn’t feasible, such as on walls, patios, or retaining walls. They’re also ideal for shorter fences, typically no higher than four feet. To install, attach the base plate to the post using stainless steel screws, partially tighten them, then align the post before fully securing it. Ensure the plate is flush against the surface for maximum stability. For masonry surfaces, use a drill with a masonry bit to anchor screws securely. Base plates are sturdy, easy to install, and blend seamlessly with the fence design.

Design Your Ideal Fence & Gates Today!
Design your perfect fence and gate today! Contact us now to bring your vision to life with custom designs that fit your style and needs.
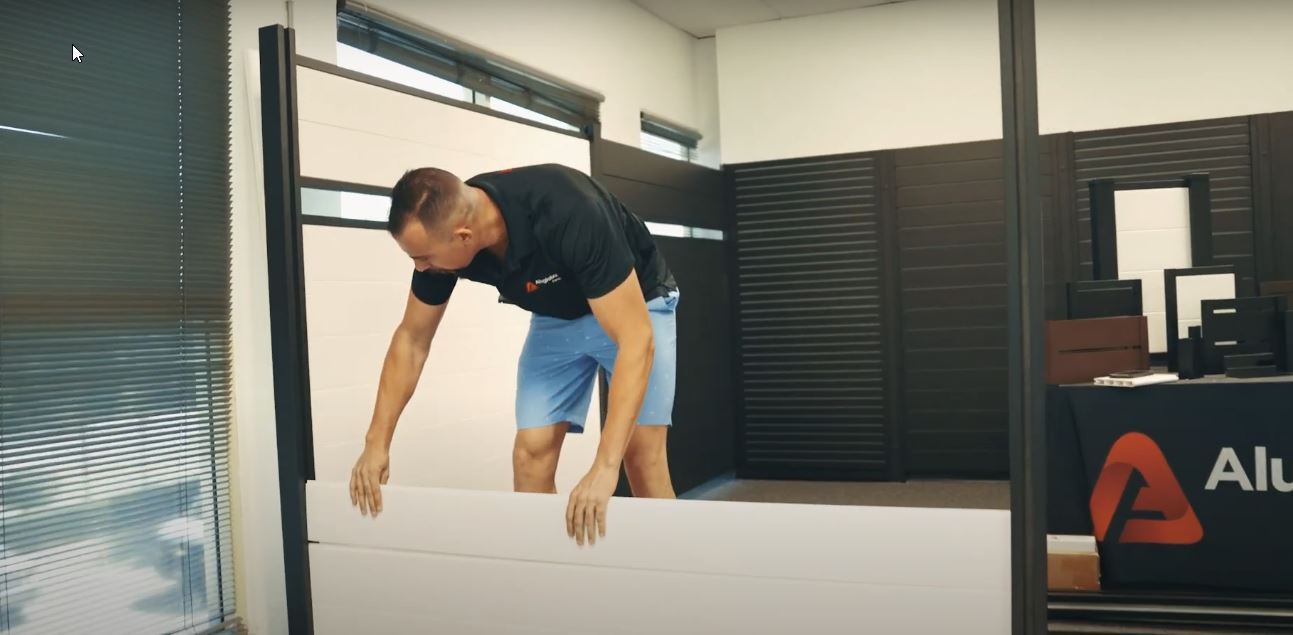
Step 5: Assembling Panels and Rails with Ease
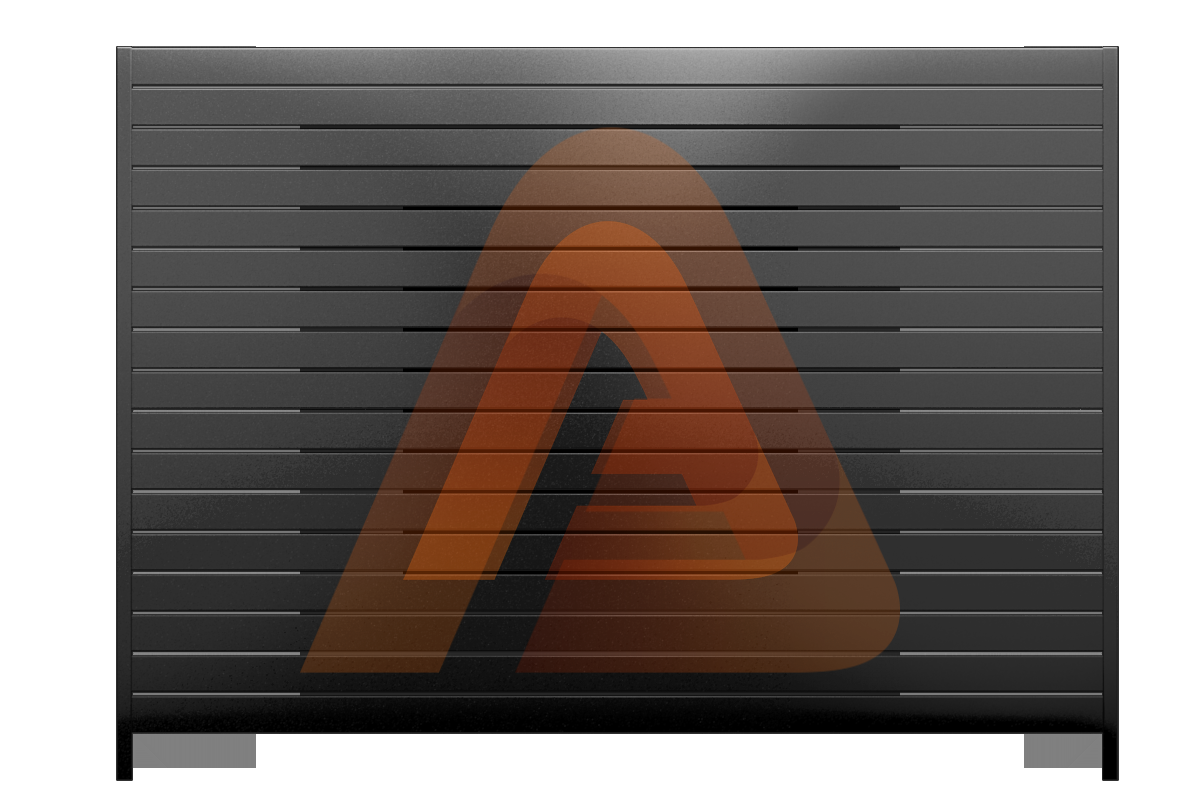
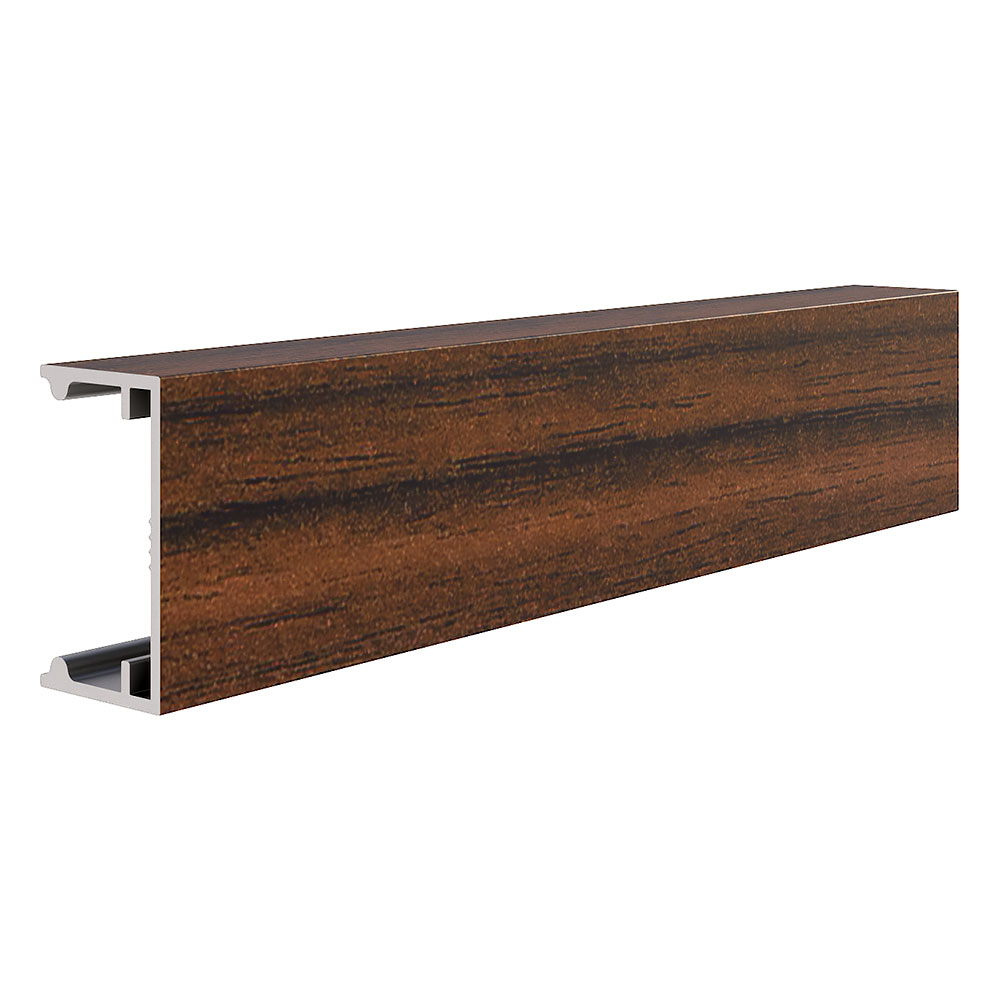
Assembling panels and rails is quick and straightforward thanks to pre-cut vinyl boards and rails. Start by sliding the bottom rail into place and securing it with stainless steel brackets. Next, unwrap the vinyl panels and slide them into the grooves, ensuring they fit snugly. Adjust brackets to eliminate gaps if desired, but always secure everything with screws. The process is simple and resembles assembling LEGO pieces, making it accessible even for beginners.
Step 6: Securing the Top Rail for Stability and Heat Expansion
The top rail provides a clean finish while ensuring long-term stability. Slide it into the pre-cut grooves and insert small stainless steel brackets to prevent movement. Tighten screws securely, but leave slight room for heat expansion, as aluminum and vinyl materials expand and contract with temperature changes. This step prevents stress on the materials, avoiding cracks or warping over time. Properly installed top rails enhance both functionality and aesthetics, completing the fence’s structure.
Design Your Ideal Fence & Gates Today!
Design your perfect fence and gate today! Contact us now to bring your vision to life with custom designs that fit your style and needs.
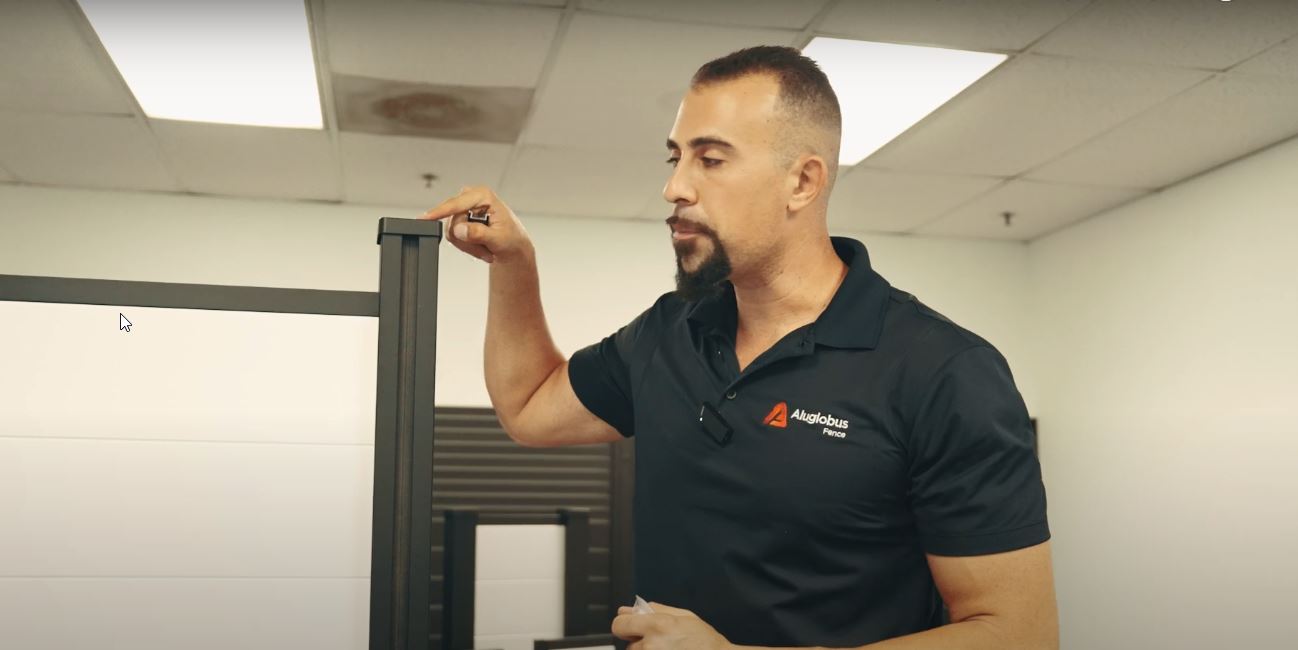
Step 7: Adding the Finishing Touches—Post Caps and Covers
The final step transforms your fence from functional to fabulous. Measure the post height, cut the cap to size, and slide it into place for a snug fit. Post covers not only enhance aesthetics but also protect the posts from rain, snow, and UV rays, extending their lifespan. Inspect caps and covers annually to ensure they remain secure and replace any damaged pieces promptly. These finishing touches add a polished, professional look to your fence while safeguarding it against the elements.
Why DIY Fence Installation Is Worth the Effort
With Al Globus DIY fence kits, installing an aluminum vinyl fence is simple and rewarding. Here’s a quick recap of the steps:
- Preparation: Verify all parts and tools before starting.
- Foundation Setup: Level the ground and align posts using a string line.
- Bracket Installation: Secure posts with two-hole brackets for stability.
- Base Plate Application: Use base plates for wall-mounted installations.
- Panel and Rail Assembly: Fit pre-cut vinyl boards and rails effortlessly.
- Top Rail Installation: Secure the top rail with expansion brackets.
- Final Adjustments: Add post caps and covers for a professional finish.
By following these steps, you can transform your outdoor space with a modern, sleek fence that’s built to last. Our products are designed with homeowners and contractors in mind, offering unbeatable quality, nationwide shipping, and technical support whenever you need it.
Leave your request
Leave a request and we will contact you within 15 minutes.