DIY Aluminum Fence Installation with ALU60 Slat
- By Admin
- Posted on
Step 1: Setting Up Your Posts
Alright, first thing we gotta do is set up our three-way post and crusen post. These are key because they give your fence its structure and stability.
- Measure & Mark – Take your tape measure and mark exactly where your posts are going. This prevents rework later.
- Align the Three-Way Post – Position it at the correct height. A laser level or standard bubble level is essential to keep everything straight.
- Secure the Crusen Post – This is the part that mounts onto the wall. Use high-quality masonry screws or anchors if installing on concrete or brick.
- Check for Level Again – This is critical. If your post isn’t perfectly level now, the whole fence is going to look crooked.
Pro Tip: If you’re working alone, use quick clamps to hold the posts in place while you drill. It’ll save you a ton of time and frustration.
Once that’s locked in, we’re ready for the next step!
Step 2: Installing the Bottom Rail
Now that our posts are solid, we’re gonna drop in the bottom rail. This is what’s gonna hold all your slats in place.
- Slide the bottom rail into position – It should sit flush between the posts or wall extrusion.
- Secure it with Screws – If your fence is over soft ground, drive some small stakes underneath for extra support while installing.
- Double-Check Alignment – If the bottom rail isn’t perfectly level, all your slats will be slightly off, and trust me—you’ll notice it.
Pro Tip: If you’re installing on a slope, you may need to step your fence instead of keeping it completely level. Measure the drop distance before securing the bottom rail.
Alright, now we’re looking good. Time for the fun part!
Design Your Ideal Fence Today!
Contact us now to bring your vision to life with custom designs that fit your style and needs.
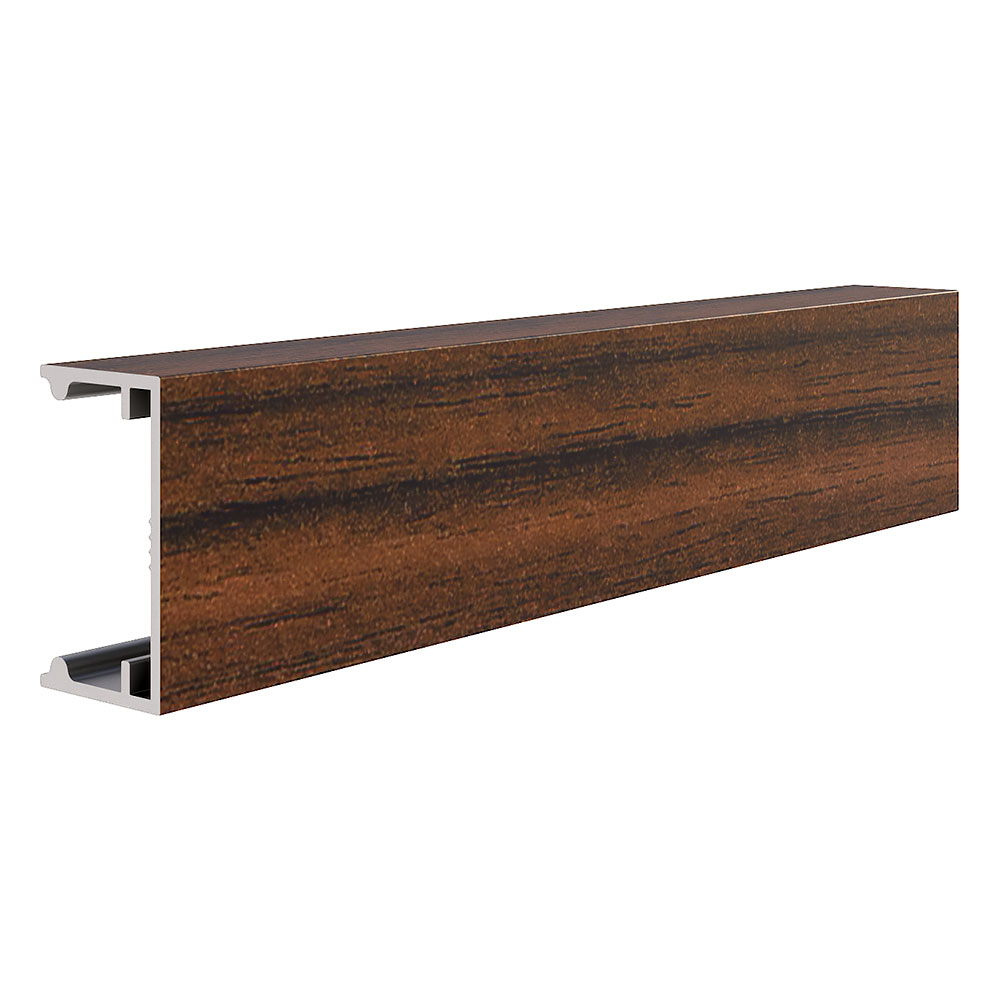
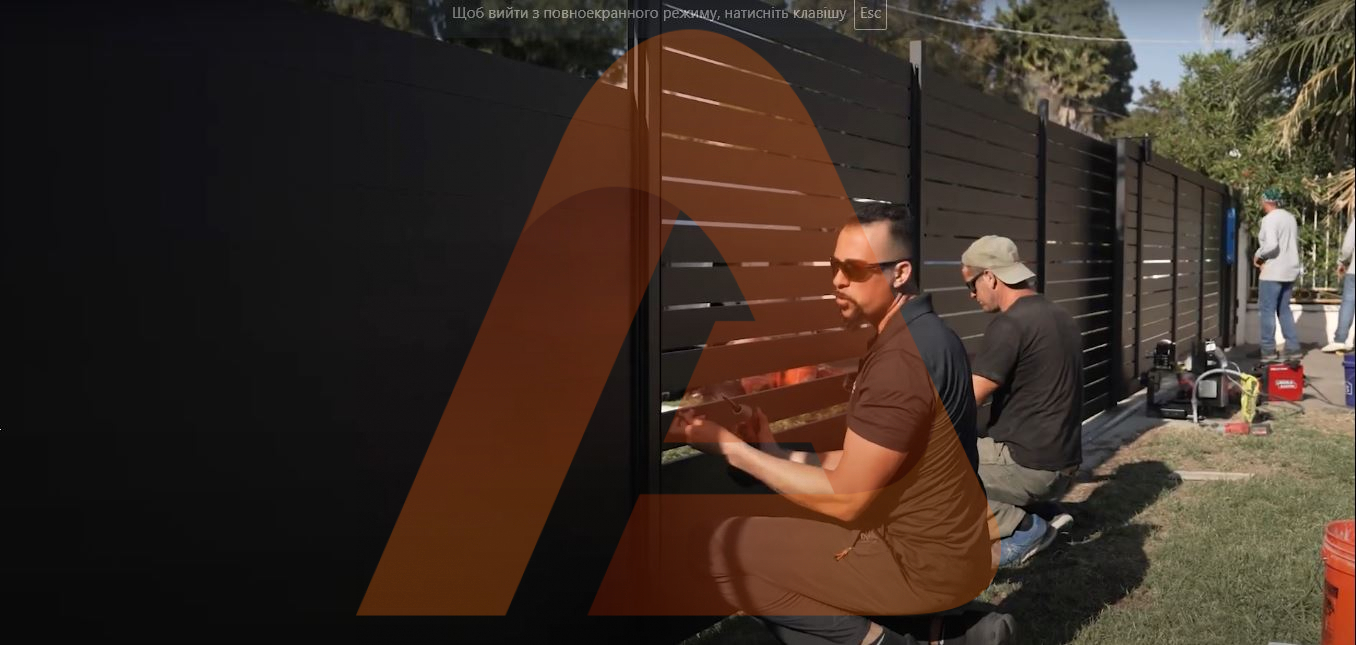
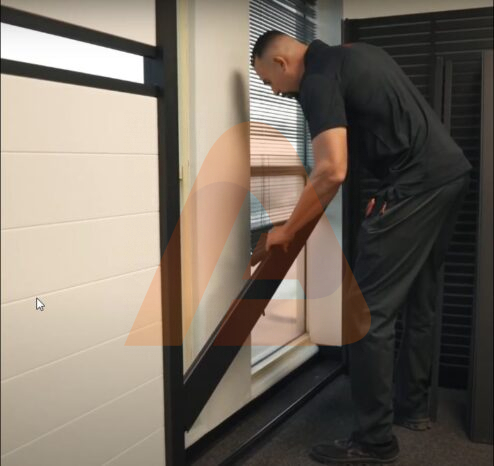
Step 3:Sliding in the Fence Boards
Now comes the easy part. These boards are designed to slide right in, no screws, no fuss.
- Start with One Board at a Slight Angle – This helps it drop smoothly into the bottom rail.
- Slide it in Fully – Press down slightly to make sure it’s locked in place.
- Continue Adding Boards – Work one at a time, keeping each one snug against the next.
If you’re working in hot weather, aluminum expands slightly. Leave a tiny gap (1/16 inch) between boards to prevent warping over time.
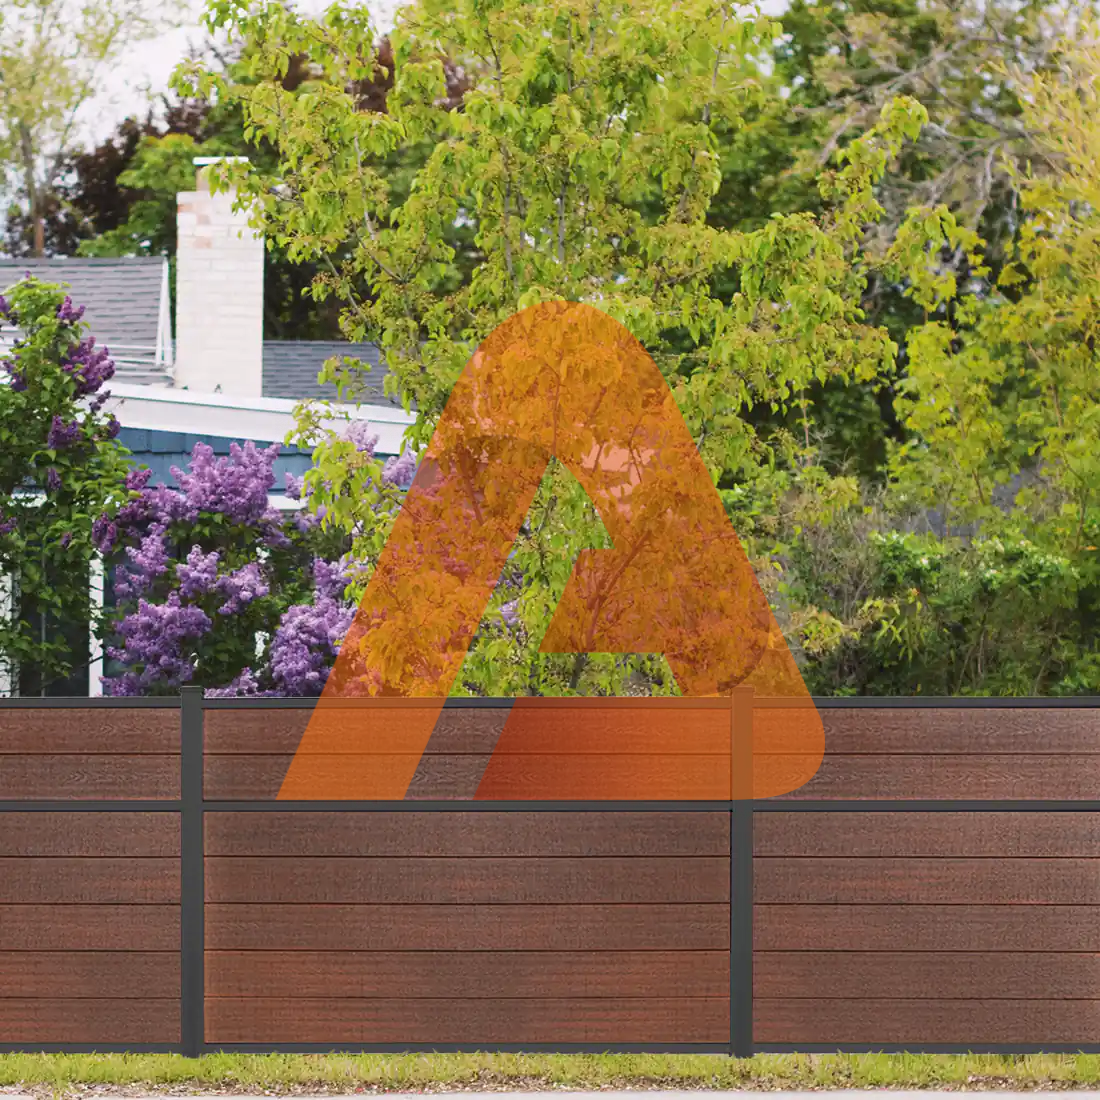
See how easy that is? That’s why this system is perfect for DIYers and pros alike.
Step 4: Creating a Privacy Gap (Optional)
Now, let’s say you don’t want a full privacy fence. You want some airflow or a modern open look—no problem!
- Use the Stoppers – These small spacers allow you to create 2-inch, 1-inch, or custom gaps between boards.
- Insert at Regular Intervals – Make sure each board sits on its stopper evenly.
- Confirm the Look – Step back and make sure your gaps are uniform before moving forward.
If you’re in a windy area, small gaps can help reduce wind resistance, preventing stress on your fence in storms.
And just like that, you’ve got a fence that’s both private and breathable!
Step 5: Securing the Fence to the Wall/Post
Before we close this up, we gotta lock everything in tight.
- Drill and Secure the Wall Extrusion – If you’re mounting to concrete or brick, use expansion anchors.
- Fasten to the Post – If mounting on an aluminum or wood post, use corrosion-resistant screws to prevent rusting.
- Shake Test – Give the frame a little shake. If it moves, tighten the connections.
If your wall has slight irregularities, apply a thin layer of silicone behind the extrusion before securing it. This helps create a perfect seal.
Once that’s solid, we’re almost there!
Design Your Ideal Aluminum Fence Today!
Contact us now to bring your vision to life with custom designs that fit your style and needs.
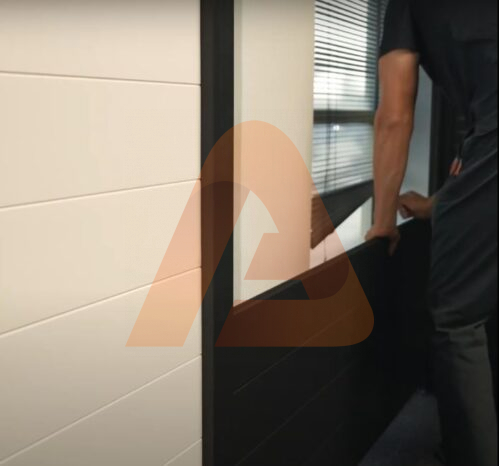
Step 6: Installing the Gap Closer & Hiding Screws
Now let’s clean up the look by covering up those screws!
- Grab Your Gap Closer – This small piece not only covers gaps but also hides any exposed screws.
- Snap It into Place – Press firmly so it clicks in securely.
- Slide It Down – Adjust it so it sits flush, giving a clean, seamless appearance.
If it’s a tight fit, use a rubber mallet to gently tap it into place without damaging the aluminum.
Boom! No screws, no mess—just a clean, professional finish.


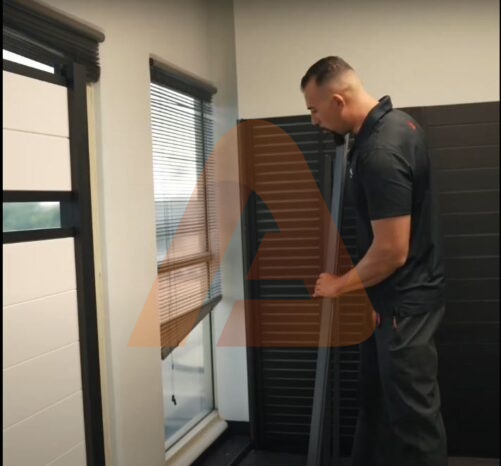
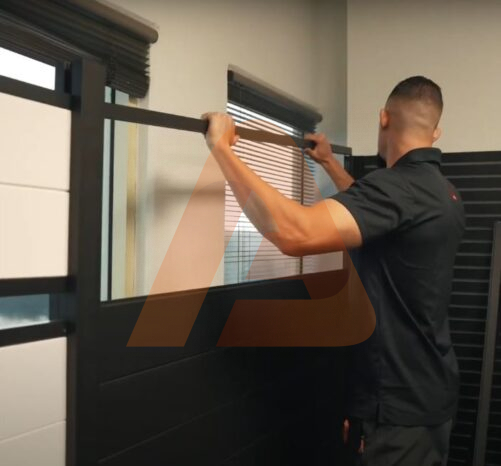
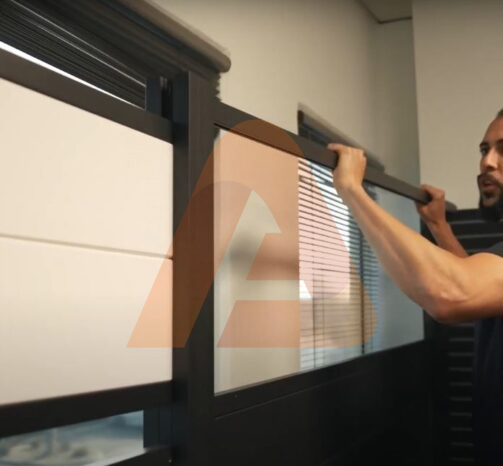
Step 7: Adding the Top Rail & Final Touches
Now we’re putting the finishing touch on this beauty!
- Slide the Top Rail Into Position – Just like the bottom rail, make sure it fits snugly between the posts.
- Secure It in Place – Use screws to lock it down.
- Install the Capped Post – This final touch gives your fence a clean, modern look.
Pro Tip: If you want extra security, add a locking screw on the top rail to prevent tampering.
And just like that—done! Looks clean, sturdy, and built to last.
Final Thoughts & Contractor Callout
Guys, this system is made for speed and durability. Whether you’re a contractor or a DIYer, it’s one of the easiest fences to install.
Want in? Join the AluGlobus shop and get exclusive products!
Now go out there and build something great!
Leave your request
Leave a request and we will contact you within 15 minutes.