How to Install a 130 Ft Composite Fence in 1 Day: A DIY Guide
- By Admin
- Posted on
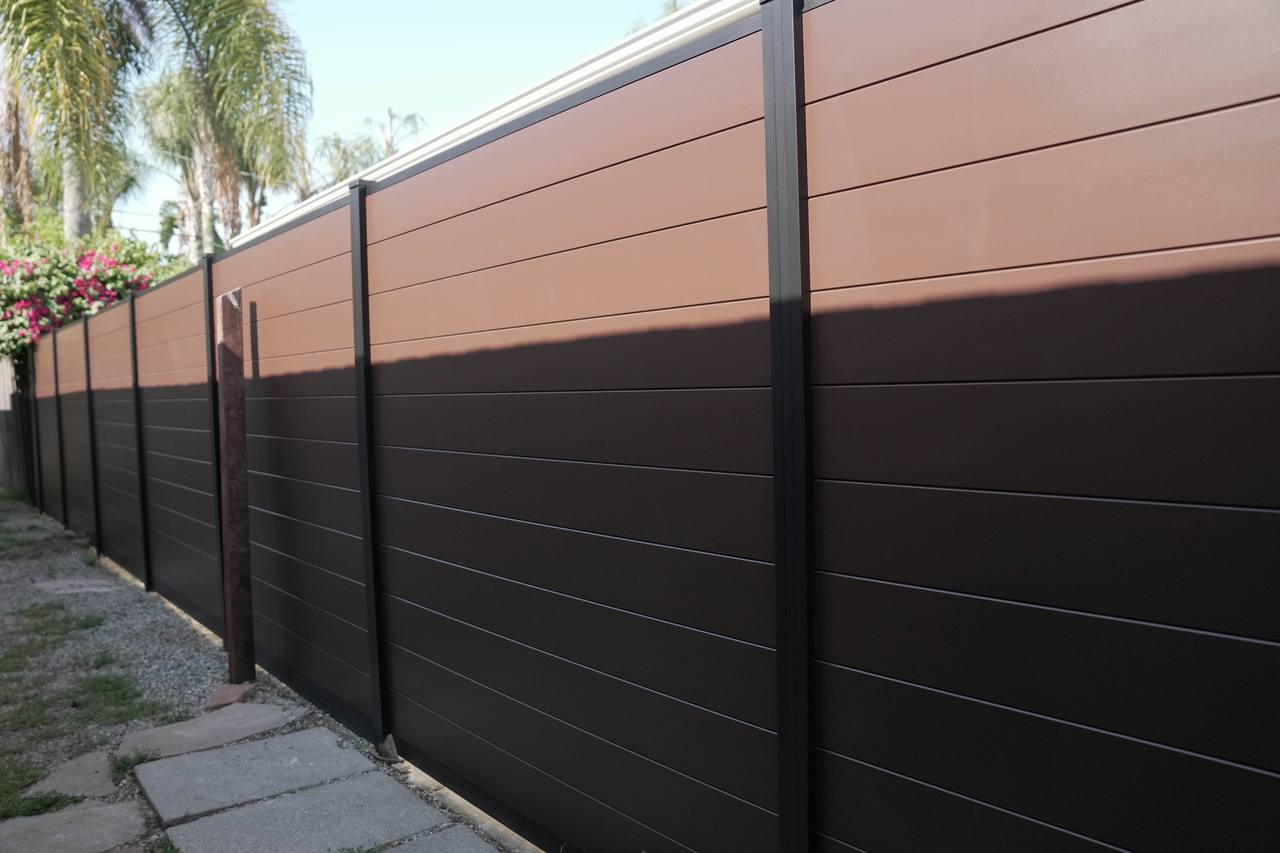
Thinking about transforming your outdoor space with a sleek, durable composite fence? Whether you’re enhancing security, boosting curb appeal, or adding privacy, this step-by-step DIY guide will show you how to install a stunning 130 ft composite fence in just one day using the Alu Globus system. With pre-cut composite boards, easy-to-use aluminum channels, and innovative design features, you’ll achieve professional results without the hassle of traditional fencing methods. Let’s get started!
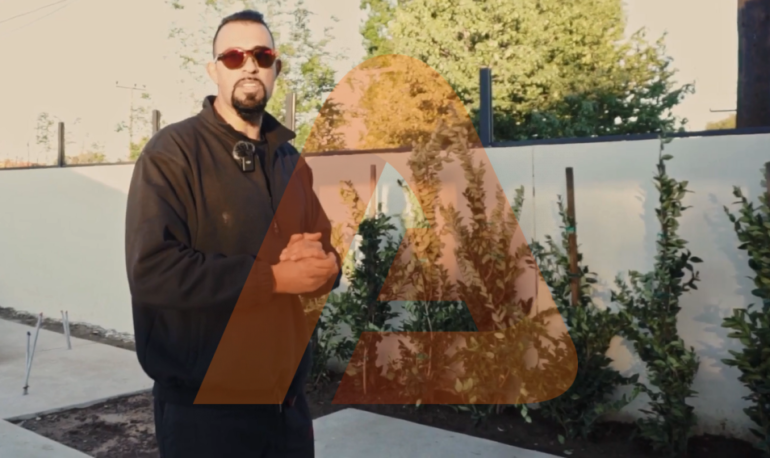
Step 1: Overview of the Composite Fence System
Installing a 130 ft wall topper has never been easier with the Alu Globus composite fence system. This article demonstrates a step-by-step guide to transforming your outdoor space quickly and efficiently. The process uses aluminum channels and pre-cut composite boards, specially designed to streamline the installation and ensure durability. These components make it possible to achieve a professional finish in significantly less time, whether you’re a DIY enthusiast or a contractor.
Key Features of the Alu Globus System
The Alu Globus system is engineered for efficiency and ease of use. Pre-cut composite boards eliminate the need for on-site cutting, saving both time and effort. Aluminum channels provide structural stability while enhancing the fence’s modern aesthetic. Additionally, pre-assembled components reduce installation time significantly, allowing you to complete large projects like a 130 ft fence in just one day. Before starting, gather all necessary tools and materials, including a drill, level, screws, and any accessories provided by Alu Globus. You can find everything you need in our Aluglobus product catalog .Step 2: Preparing the Foundation for Stability
The foundation is the most crucial part of any fence installation. Start by cementing the aluminum posts into the base using sturdy aluminum base plates. These plates ensure stability and act as the foundation for the entire structure.
Once the posts are securely in place, attach the first bottom channel to the post. This channel serves as the base for the composite boards and helps align the fence properly during assembly. Taking the time to ensure a strong foundation will guarantee a durable and long-lasting fence.
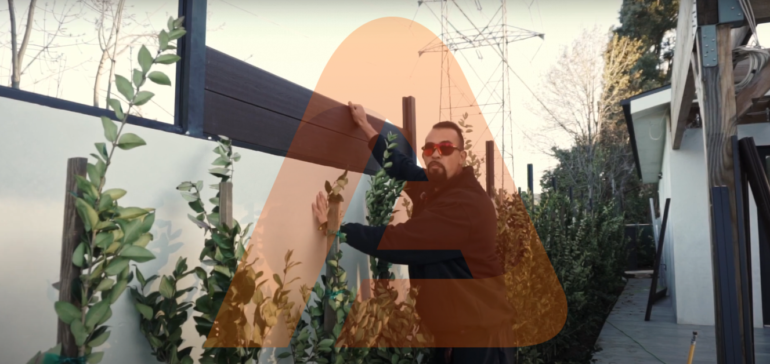
Marking and Aligning Posts
Begin by measuring and marking where each post should go. Accurate spacing ensures even alignment and prevents gaps or misalignment later on. Use stakes to mark the locations and double-check measurements before proceeding. Position each post at the correct height using a laser level or bubble level. Ensure both horizontal and vertical alignment are precise to avoid issues down the line.Securing Posts
If mounting on concrete or brick, use high-quality masonry screws or anchors. Pre-drilling pilot holes will help avoid cracks and ensure a secure grip. For uneven terrain, consider using adjustable base plates or leveling shims to compensate for elevation changes. Reinforce posts temporarily with braces while securing them to ensure they stay perfectly aligned during the curing process.Design Your Ideal Fence & Gates Today!
Step 3: Installing the Bottom Rail
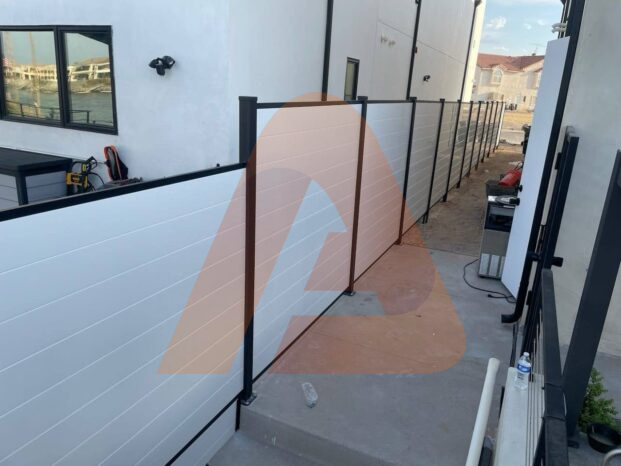
Now that the posts are solid, it’s time to install the bottom rail, which serves as the base for the composite boards. This step is crucial for structural integrity, so make sure it’s level and properly secured. A poorly installed bottom rail can lead to misaligned boards and an unstable fence.
Attaching the Bottom Channel
Slide the bottom channel onto the posts and secure it with screws. Ensure it sits flush between the posts for a seamless look. Use a level to confirm that the bottom channel is perfectly straight. Adjust as needed before moving on. If installing over soft ground, drive small stakes underneath the bottom channel for extra support.Step 4: Sliding in the Composite Boards
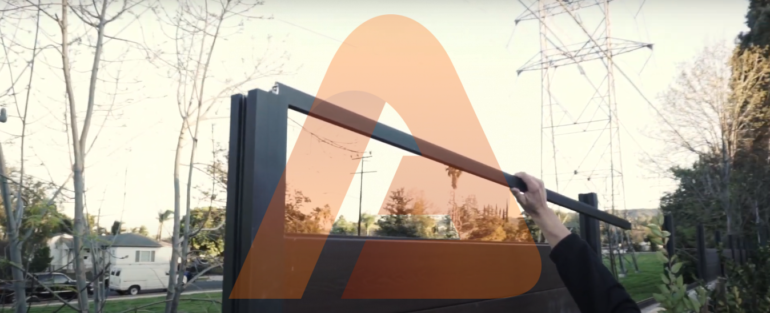
This is the easiest and most satisfying part of the installation process. The composite boards are designed to slide right into the aluminum channels without screws, making installation quick and hassle-free. With a seamless fit, you’ll achieve a clean, professional look without the need for extra fasteners.
Tips for Installing Composite Boards
Start by inserting the first composite board into the bottom channel at a slight angle to help it drop smoothly. Press down slightly to ensure the board locks securely into place. Continue adding boards one at a time, keeping each board snug against the next. Leave a small gap of about 3/8 inch between boards to allow for thermal expansion, especially in hot weather. If working alone, use clamps or spacers to hold boards in place temporarily.Design Your Ideal Fence & Gates Today!
Step 5: Installing Mid-Channels for Stability and Style
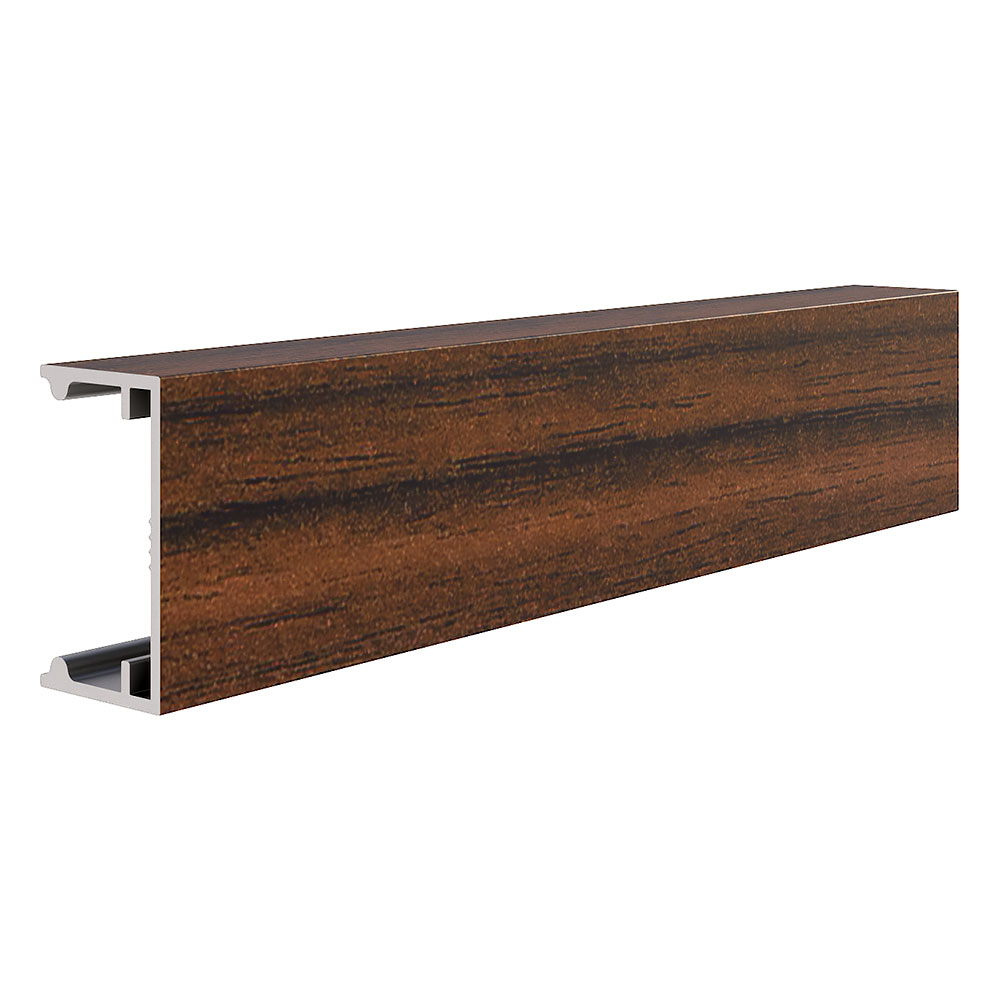
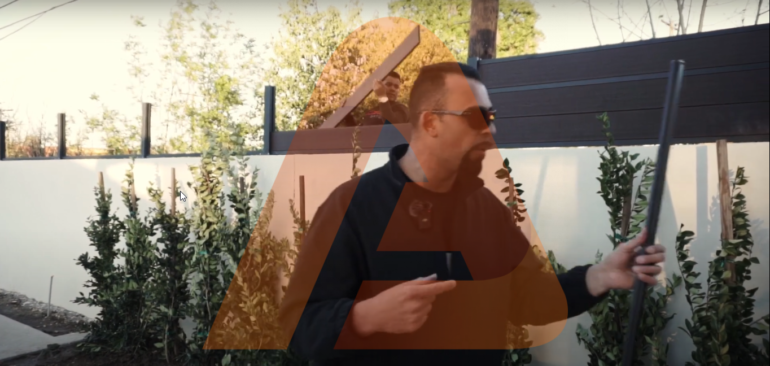
Once the composite boards are in place, it’s time to install mid-aluminum channels. These channels provide extra stability and support to the structure, ensuring that your fence maintains its integrity over time. They also enhance the fence’s appearance by creating clean lines and uniform spacing.Aligning and Securing Mid-Channels
Place the mid-channels evenly between the composite boards. Use built-in grooves and brackets to ensure they fit seamlessly. Attach the mid-channels to the posts and composite boards using screws. Double-check that they are level and aligned to maintain a polished look. Properly installed mid-channels not only reinforce the fence but also contribute to its modern aesthetic.Step 6: Installing the Top Rail for a Seamless Finish
To complete the panel, install the top aluminum channel, which serves as the final element in the fence’s assembly. The top rail adds a sleek and polished finish to the structure, ensuring both durability and aesthetic appeal.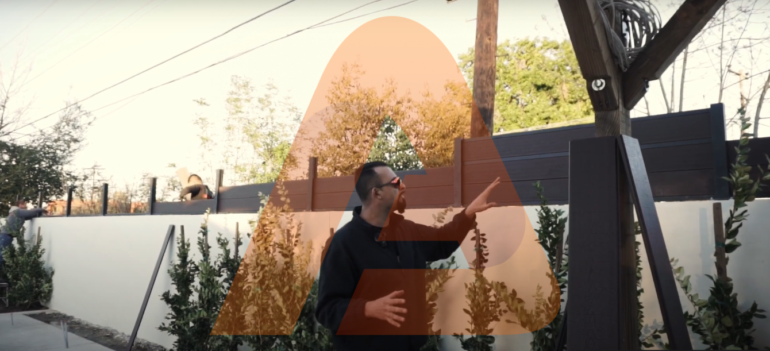
Finalizing the Top Channel
Carefully position the top channel along the composite boards and mid-channels. Ensure it fits snugly and sits flush with the edges. Use screws to lock the top channel in place, and double-check alignment to maintain a seamless look. The smooth, flat surface of the top rail enhances the fence’s modern design and provides a professional finish.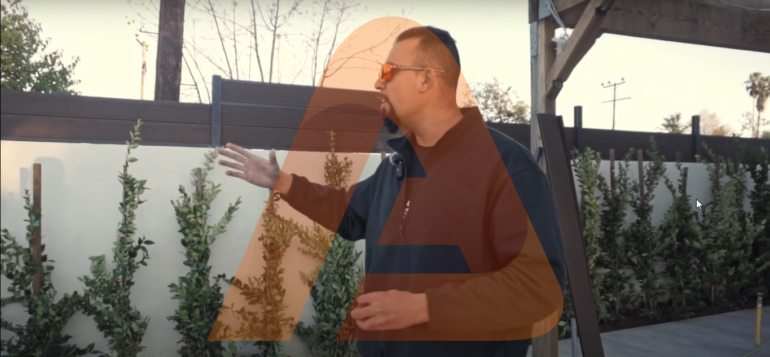
Step 7: Saving Time with Pre-Assembled Channels
The Alu Globus composite fence system stands out for its use of pre-assembled channels, which make the installation process remarkably efficient. These components are designed to fit seamlessly with composite boards, eliminating the need for complex measurements or adjustments during assembly.Benefits of Pre-Assembled Channels
The pre-assembled channels come ready to install, saving hours of manual work. Simply slide the composite boards into the channels and secure them with screws. This feature reduces installation time significantly while maintaining structural integrity. Contractors and DIY enthusiasts alike will appreciate the simplicity and efficiency of this design.Step 8: Why Alu Globus Composite Fences Outperform Traditional Aluminum Fences
When comparing Alu Globus composite fences to traditional aluminum fences, the benefits become clear. While aluminum fences may offer a sleek, modern appearance, they often lack the privacy and warmth that composite fences provide.Advantages of Composite Fencing
Composite fences resist rust, fading, and warping, ensuring long-term beauty and durability. The wood-like appearance of composite fences adds a natural and inviting aesthetic, blending beautifully with outdoor spaces. Unlike aluminum, composite fences don’t require frequent cleaning or polishing, making them a low-maintenance option. Alu Globus composite fences are ideal for backyards, pools, and other areas where aesthetics and durability are essential. Learn more about the benefits of composite fencing in our guide here .

Step 9: Finishing Touches for a Durable and Polished Fence
The final step in installing your Alu Globus composite fence is to add the finishing touches that complete the look and enhance durability. These small details ensure your fence remains beautiful and functional for years to come.Adding Caps and Sealing Edges
Attach caps to the top of the posts and channels to protect against wear and tear. Use L brackets to lock the panels in place, ensuring stability and preventing unwanted movement. Apply silicone along the edges to seal the structure, protecting it from moisture and extending its lifespan. Regular maintenance, such as occasional cleaning and resealing, will keep your fence looking beautiful for years.
Final Thoughts
This DIY guide proves that installing a 130 ft composite fence doesn’t have to be a daunting task. With the Alu Globus system, you can achieve a professional-looking fence in just one day, thanks to its innovative design and user-friendly components. Whether you’re a homeowner looking to enhance your property or a contractor seeking efficiency, this guide provides everything you need to succeed. Ready to get started? Shop our Alu Globus composite fence system today and transform your outdoor space effortlessly! For more tips and resources, check out our fence maintenance guide or explore our customer success stories .Leave your request
FAQs
How long does a composite fence last in California?
A high-quality composite fence, like the ones from AluGlobus, can last 25–30 years or more, even in California’s intense sun and coastal climates. The combination of composite boards and aluminum channels ensures resistance to warping, fading, and rust.
Can I really install a 130 ft composite fence in one day?
Yes—when using the AluGlobus pre-cut composite boards and pre-assembled aluminum channels, installation time is drastically reduced. With proper preparation, two people can complete a 130 ft fence in a single day.
How much does it cost to install a composite fence in Los Angeles or Orange County?
Is composite fencing better than wood for coastal areas like San Diego?
Yes—composite fencing is far more resistant to moisture, salt air, and UV exposure compared to wood. It won’t rot, crack, or fade, making it ideal for coastal climates.
Can composite fences handle California’s heat and sun?
Absolutely. High-quality composite materials are UV-stabilized to resist fading and heat damage, making them a perfect choice for sunny areas like Los Angeles and San Jose.
Do composite fences require maintenance?
Absolutely. High-quality composite materials are UV-stabilized to resist fading and heat damage, making them a perfect choice for sunny areas like Los Angeles and San Jose.
You May Also Like
- DIY Aluminum Wall Cladding: Step-by-Step Installation Guide
- Expert Tips for DIY Aluminum Fence Installation
- DIY Aluminum Fence Installation with ALU60 Slat Guide
- DIY Aluminum Vinyl Fence Installation Guide – Easy Steps


